Drilling Holes in Crystals Without Cracking: Complete Guide
Why Drilling Stones Feels Intimidating (And Why It Shouldn't)
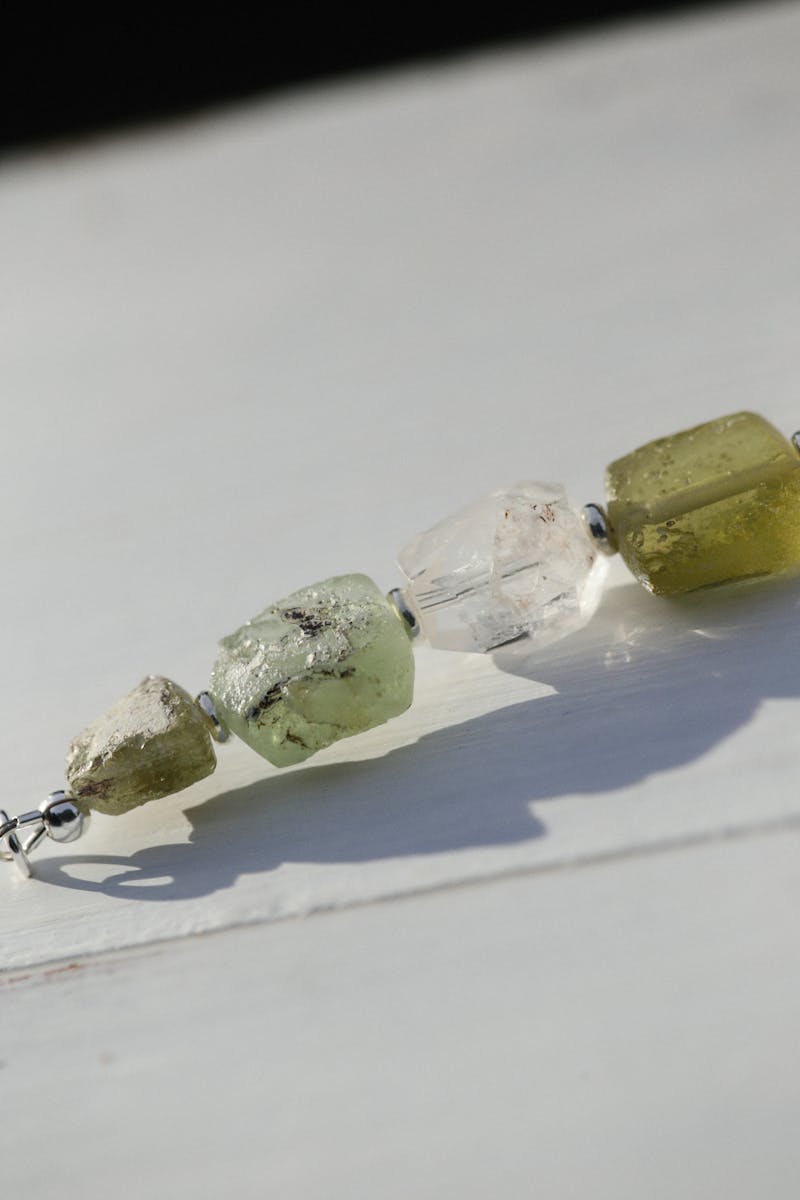
There's a moment every jewelry maker reaches where they look at a beautiful stone and think: "I wish I could put a hole through that." Maybe it's to make a pendant that hangs at a different angle than a wire wrap allows. Maybe it's to string beads directly through the stone. Maybe the stone's shape simply doesn't lend itself to wrapping.
Drilling a hole through stone sounds like it requires professional equipment and years of experience. It doesn't. With the right drill bits, a few inexpensive accessories, and an understanding of what's actually happening at the tip of that drill, you can drill clean holes through most common gemstone and crystal materials at home.
The key insight is this: you're not "drilling" stone in the traditional woodworking sense. Stone is abrasive. You're grinding a hole through it, not cutting one. Understanding that distinction changes how you approach the entire process and dramatically improves your success rate.
Understanding What You're Actually Doing
When you drill through wood, the sharp edges of the drill bit cut away material ahead of it. The bit is harder than the wood, so it slices through fibers as it advances.
Stone doesn't have fibers. It's a crystalline or amorphous solid made of bonded minerals. You can't "cut" it in the traditional sense — instead, you need something even harder that can abrade it away particle by particle. That's what diamond drill bits do.
Diamond drill bits aren't sharp in the conventional sense. The cutting surface is coated with tiny industrial diamond particles bonded to the tip. As the bit rotates, these diamond particles grind away the stone surface, creating a circular channel that gradually deepens into a hole. The diamonds don't dull quickly because, well, they're diamond — one of the hardest materials on Earth.
This grinding process generates significant heat and produces a fine slurry of stone dust mixed with water. Managing both of these byproducts is what separates successful holes from cracked stones.
Equipment: What to Buy and What to Skip
The Drill
A rotary tool (commonly called a Dremel) is the standard choice for stone drilling. You don't need a powerful one — even the most basic model provides more than enough speed. What matters is variable speed control, which lets you run the drill at the low RPMs that stone drilling requires.
For stone, you want to work at low speeds: 5,000 to 15,000 RPM for most materials. Running too fast generates excess heat and causes the diamond coating to shed faster. Higher speeds don't drill faster — they just wear out your bits and increase the risk of cracking the stone.
A flexible shaft attachment is worth considering if you'll be doing a lot of drilling. It separates the motor from the business end, giving you better control and reducing hand fatigue. But it's not essential for occasional use.
A small bench drill press attachment can also help, as it maintains consistent angle and pressure. However, many experienced stone drillers prefer the freehand approach for small stones because they can feel the bit's progress through their fingertips and adjust pressure accordingly.
Drill Bits
You need diamond-coated drill bits — specifically, the small-diameter twist bits or core bits designed for jewelry work. These come in sizes ranging from 0.5mm to about 3mm for jewelry applications.
Twist bits (solid bits with a pointed or rounded tip) are good for drilling completely through a stone. They create a solid hole from one side to the other.
Core bits (hollow bits that cut a ring rather than a solid circle) are useful when you want a larger hole but don't want to remove all the material in the center. They're faster for larger diameters because you're only removing the material at the ring edge, not the entire plug.
Buy multiple bits in your target size. Diamond bits wear out, and having spares means you're not tempted to push a worn bit harder than you should. A set of 5–10 bits in 1mm diameter will handle most jewelry projects.
The Cooling System
This is where most people cut corners and where most stones crack. You must keep the drilling area wet. Not damp, not misted — continuously wet. The water serves two purposes: it carries away heat (preventing thermal shock, which cracks the stone) and it flushes out stone dust (preventing the bit from clogging and overheating).
The simplest approach is the clay dam method. Mold a ring of modeling clay around the area where you want to drill, creating a small well. Fill this well with water. As you drill, the water stays in the clay dam and keeps the bit and stone surface cool.
Another option is to drill under a thin stream of water from a bottle, or to submerge the stone in a shallow dish of water and drill into it while it's submerged. The submerged method works well for smaller stones that you can hold with tweezers or a small clamp.
Step-by-Step: Drilling Your First Hole
Marking the Stone
Use a fine-tip permanent marker or a grease pencil to mark where you want the hole. If the stone is very smooth and the mark won't stick, a small piece of masking tape placed over the spot gives you a surface that accepts the mark easily. The tape also helps the drill bit grip when you start — without it, the bit can skate across a polished surface instead of biting in.
Starting the Hole
This is the most critical moment. Place the stone in your clay dam setup (or under water), and position the drill bit at a 90-degree angle to the stone surface. Start the drill at a low speed and bring the bit to the stone with very light pressure — barely more than the weight of the drill itself.
The bit will want to wander or skate across the surface at first. This is normal. Hold it steady and maintain gentle, consistent pressure. Within 10–20 seconds, the bit will start to cut a small indentation that serves as a guide for the rest of the hole. Once this pilot mark is established, you can increase the pressure slightly.
Never push hard. If you feel resistance increasing, it means either the bit is clogged with stone dust or the stone is getting too hot. Lift the bit out of the hole, let fresh water flow in, and resume at lighter pressure. This "pecking" motion — drilling briefly, lifting, resuming — is the fundamental technique for stone drilling.
Working Through the Stone
Continue with the pecking motion: drill for 10–15 seconds, lift the bit to let water flush the hole, repeat. The rate of progress depends on the stone's hardness. Softer materials like turquoise or limestone drill quickly. Harder materials like quartz or agate take significantly longer.
When you're approaching the far side of the stone (you can feel the resistance change as the bit gets thin stone remaining), reduce pressure even further. Coming through the back of the stone too aggressively is the second most common cause of chipping — the bit breaks through suddenly and tears out a chunk of stone around the exit hole.
To minimize exit chipping, you can either drill almost all the way through from one side, flip the stone, and drill from the back to meet the first hole — or simply reduce to very light pressure for the last millimeter and accept that some minor sanding will be needed at the exit.
Cleaning Up
After drilling, rinse the stone thoroughly to remove any remaining stone dust and clay residue. A soft toothbrush under running water works well for this. Check the hole edges — if they're slightly rough or chipped, a small diamond needle file or a rolled piece of fine sandpaper can smooth the entrance and exit.
The hole itself will be slightly smaller than the bit diameter due to the diamond coating thickness. If you need a precisely sized hole for a specific cord or wire, test-fit before committing to the final piece.
Stone-Specific Considerations
Not all stones drill the same way. Understanding the characteristics of different materials helps you adjust your technique.
Quartz and agate (Mohs 7) are relatively hard and take longer to drill. They're also more prone to heat-related cracking because of their crystalline structure. Use slower speeds, more frequent pecking, and make sure the water is cool. If the water in your clay dam gets warm, replace it with fresh cool water.
Turquoise and malachite (Mohs 5–6) are softer and drill more quickly, but they're also more porous and can be fragile. These stones sometimes have natural internal fractures that can cause them to split along existing fault lines regardless of your technique. There's not much you can do about this except accept that some stones simply won't cooperate.
Obsidian and glass are technically not minerals (obsidian is volcanic glass, and manufactured glass is, well, glass) but are commonly drilled in jewelry making. They're relatively soft (Mohs 5–5.5 for obsidian) but brittle. Very light pressure and constant lubrication are essential.
Jade (nephrite or jadeite) is extremely tough (Mohs 6–7) and takes patience. Nephrite jade, in particular, is one of the toughest natural materials known — it's fibrous rather than crystalline, which means it resists chipping but takes significantly longer to drill through.
Safety Notes
Stone dust is not something you want to inhale. Work in a well-ventilated area, and consider wearing a dust mask. The water used in drilling captures most of the dust, but some fine particles become airborne during the process. Silica-containing stones (quartz, agate, jasper) produce silica dust, which is a known respiratory hazard with long-term exposure.
Eye protection is also recommended. A piece of stone can chip unpredictably, and diamond bits occasionally shed particles. Safety glasses are a cheap insurance policy against a trip to the emergency room.
Comments