How to Drill Holes in Crystals Without Cracking Them
I Cracked My First Crystal in 30 Seconds
The drill bit touched the surface of a nice piece of rose quartz, and a chunk the size of a pea split off the side. That was my introduction to drilling holes in crystals. I'd assumed the hard part would be keeping the drill straight. Turns out the hard part is keeping the stone intact.
Drilling holes in crystals isn't difficult once you understand what's actually happening at a microscopic level. You're not "cutting" the stone — you're grinding it away with an abrasive surface. The crystal's internal structure has natural fracture lines (cleavage planes), and if your drill bit creates stress in the wrong direction, the stone splits along those lines. Understanding this single fact changes how you approach the entire process.
Choosing a Drill: Dremel vs. Flex Shaft vs. Dedicated
Three options, very different results:
Dremel rotary tool — The most accessible option. A Dremel 3000 or 4000 with a variable speed dial costs about $70-90. It works, but the vibration transfers to your hands, which means less control. Fine for occasional use or soft stones (jasper, aventurine). Not ideal for harder materials or precision work.
Flex shaft attachment — A flexible cable connects a handpiece to the motor, so the heavy motor sits on your desk while only the lightweight handpiece vibrates. This gives you significantly better control. A Foredom flex shaft (the standard for lapidary work) runs about $180-220, but a Dremel flex shaft attachment is only about $30 if you already own a Dremel. Worth the upgrade even for occasional use.
Dedicated drill press — A benchtop drill press with a foot pedal gives you hands-free speed control and perfectly perpendicular holes. Overkill for most hobbyists, but if you're drilling dozens of stones a week, it saves time and reduces breakage. Expect to spend $300+ for a decent one.
For a beginner working at home, the Dremel + flex shaft attachment combo is the sweet spot. Total cost under $130 if you already have the Dremel.
The Drill Bits That Actually Work
Standard metal drill bits won't touch most crystals. You need diamond-coated bits, and the specific type matters.
Diamond core bits — Hollow tubes with diamond grit on the edge. These cut a ring instead of a solid hole, which means they remove less material, create less heat, and work faster. A set of 10 sizes (0.8mm to 10mm) costs about $15-20 on most craft supply sites. Use these for holes larger than 1mm.
Diamond twist bits — Solid bits with diamond grit on the tip and sides. Better for very small holes (under 1mm) or when you need to drill at an angle. Slower cutting than core bits but more versatile.
Important: "diamond coated" and "diamond grit" are not the same thing. Diamond coated bits have a thin layer of diamond particles bonded to the surface. They work but wear out after 5-15 holes depending on the stone hardness. Diamond grit bits (sometimes called sintered) have diamond particles embedded throughout the cutting surface. They last much longer but cost 3-4 times more. For beginners, coated bits are fine — you'll probably break the stone before the bit wears out.
Setup: The Cooling System That Prevents Cracking
This is the part that separates people who successfully drill crystals from people who crack them. You need continuous cooling at the drill point. Without it, friction heat builds up in seconds and causes thermal shock — a sudden temperature difference across the stone that cracks it instantly.
The simplest method: a shallow plastic container (a Tupperware lid works) filled with enough water to submerge the stone by about 1/4 inch. Rest the stone on a piece of scrap wood or a silicone mat at the bottom of the container. Drill through the water. The water cools the bit and flushes away the stone dust.
The bit needs to be submerged. If you're drilling a thick stone, you might need to flip it and drill from the other side to meet in the middle. That's normal. Mark the stone with a pencil on both sides before you start so you can line up the holes.
Some people use a drip-feed system (a water bottle with a small hole in the cap positioned above the drill point). This works but is harder to set up for beginners. The submersion method is more forgiving because the stone is cooled from all sides, not just the drill point.
Drilling Technique: Speed, Pressure, and Patience
Set your drill to the lowest speed setting. This feels counterintuitive — slower should mean more time under heat, right? But slower speed means less friction per revolution, which means less heat. For a Dremel, that's about 5,000-8,000 RPM. For a flex shaft, dial it to the lowest setting that still spins reliably.
Apply light, consistent pressure. Let the diamond grit do the work. If you're pushing hard enough that the stone wants to slide across your work surface, you're pushing too hard. The correct pressure feels like holding a pencil and drawing — firm but not straining.
Drill in 10-15 second bursts. Drill for 10 seconds, lift the bit out of the stone (keep it in the water), let it cool for 5 seconds, then go again. This rhythm prevents heat buildup and gives you a chance to check your progress. A 5mm hole through a 6mm thick piece of quartz takes about 2-3 minutes total drilling time with this method.
Start the drill before it touches the stone. A spinning bit landing on the crystal surface will skid and scratch it. Touch the spinning bit to the stone gently, at a slight angle, until it catches, then gradually straighten to perpendicular.
Specific Advice by Stone Type
Quartz family (amethyst, rose quartz, clear quartz, citrine) — Hardness 7 on the Mohs scale. Medium difficulty. Drill slowly, keep it wet, and expect 2-4 minutes per hole. These stones have strong cleavage planes, so start at low pressure and increase gradually as the hole deepens.
Jade (nephrite and jadeite) — Hardness 6-7 but extremely tough (resistant to fracture). Harder to drill than quartz despite similar hardness because the stone is fibrous and absorbs impact. Use a fresh bit and drill in shorter bursts (8-10 seconds).
Turquoise and malachite — Softer (hardness 4-6) but fragile. Easy to drill through but easy to crack if you apply too much pressure. Use the lightest touch possible and a core bit to minimize stress.
Obsidian — Hardness 5-5.5 but brittle. Like glass — it'll drill fast but crack without warning. Keep it fully submerged and use minimum pressure. A fresh bit helps because a worn bit requires more pressure to cut.
Agate and jasper — Hardness 6.5-7, very dense. These take the longest to drill. Agate is more uniform in structure so it's predictable; jasper can have harder and softer zones that cause the bit to grab suddenly. Go slow and steady.
What to Do When the Bit Gets Stuck
It happens. The bit binds in the hole, usually because of stone dust packing around it or the hole narrowing slightly as you go deeper. Do not twist the bit to free it — this will crack the stone 100% of the time.
Instead, keep the drill running at low speed and pull straight up gently. The spinning motion helps clear the dust. If it won't budge, stop the drill, run water through the hole (a syringe or eyedropper works), wait 30 seconds, and try again while spinning.
To prevent sticking, lift the bit every few seconds during drilling. This clears the cut channel of dust and lets water flow into the hole. It also lets you see how deep you've gone.
Finishing the Hole
The inside of a drilled hole in crystal will be frosted and rough. For most jewelry applications (stringing on wire or cord), this is fine — the abrasiveness actually helps grip the stringing material. If you want a smooth, polished hole interior (for a thin chain to pass through, for example), use a small diamond round bur in your rotary tool at low speed, working inside the hole with water cooling. This adds 30-60 seconds per hole but produces a clean channel.
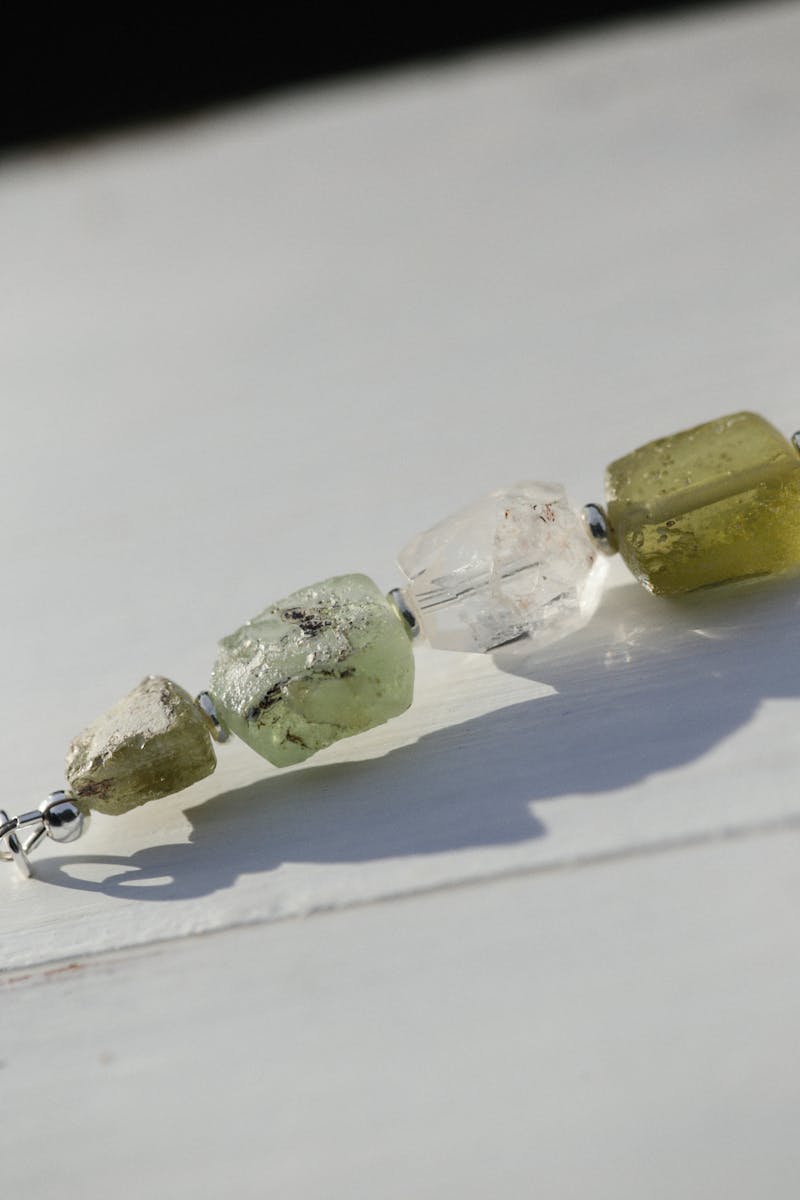
Clean the finished stone with warm soapy water and a soft toothbrush to remove any residual grit. Dry it thoroughly. If you used a core bit, you'll have a small stone plug left over from the cutting process — save these, they're useful for inlay or micro-jewelry projects.
Comments