DIY Beaded Necklace Ideas: 7 Stunning Designs You Can Make This Weekend
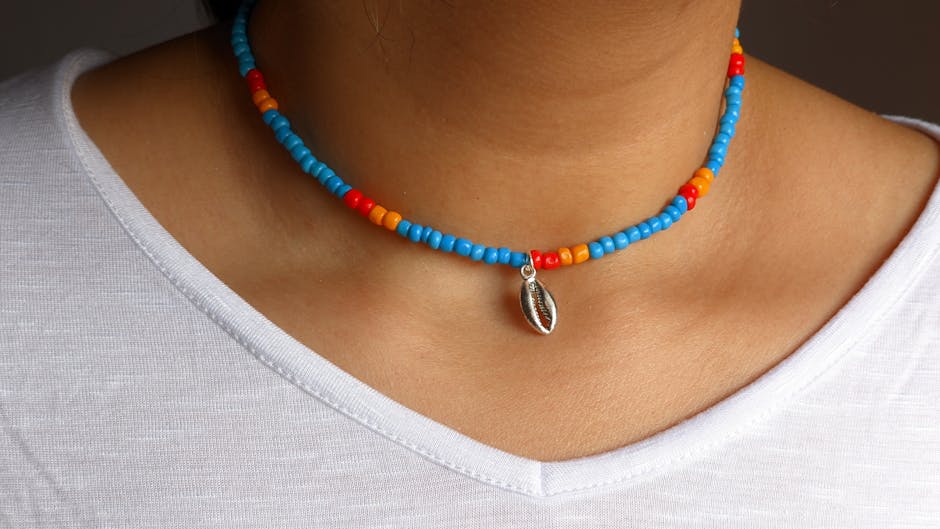
There's something deeply satisfying about wearing a necklace you made with your own hands. Beaded necklaces are one of the easiest jewelry projects to start with, and the design possibilities are virtually endless. Here are seven beaded necklace designs you can realistically finish in a single weekend — no advanced skills required.
1. Minimalist Single-Strand Gemstone Necklace
The simplest design, but also one of the most elegant. A single strand of uniformly sized gemstone beads on a silk or leather cord looks sophisticated and pairs well with any outfit.
What You Need
- 8mm gemstone beads (amethyst, rose quartz, or black onyx work beautifully)
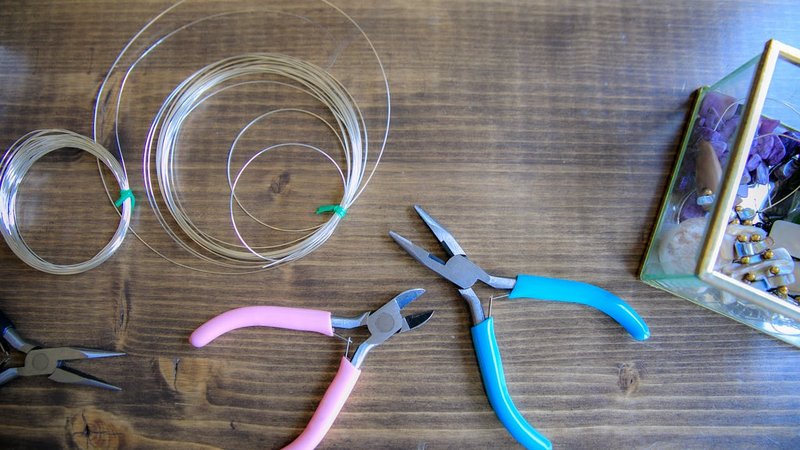
- Flexible beading wire (0.018 inch) or silk thread
- Crimp beads and crimping pliers
- Lobster clasp
How to Make It
- Cut your beading wire to about 18 inches (adjust for your preferred length).
- String on a crimp bead, then thread through one half of your clasp, and back through the crimp. Flatten with crimping pliers.
- String your beads in your chosen pattern — alternating colors, using a single color, or creating a gradient.
- Finish with another crimp bead and the other half of the clasp.
2. Boho Layered Chain and Bead Necklace
Layered necklaces are everywhere right now, and making your own is easier than you'd think. This design combines chain with scattered beads for a relaxed, bohemian look.
What You Need
- 3 lengths of chain (16, 18, and 20 inches)
- Mixed small beads (seed beads, small crystals, or wooden beads)
- Jump rings and wire for wrapping
- Lobster clasp
How to Make It
- Attach all three chains to a single jump ring at one end, and to the clasp at the other.
- Using thin wire (24-gauge), wrap small clusters of 3-5 beads at intervals along each chain.
- Vary the placement so the beads don't line up across the strands — asymmetry is part of the charm.
3. Crystal Chip Pendant on Leather Cord
This design has a natural, earthy feel that's perfect for casual wear. Crystal chips are irregular shaped pieces that catch light beautifully and are very affordable.
What You Need
- Crystal chips (amethyst, citrine, or mixed)
- 20-gauge copper or silver wire
- 2mm leather cord
- Wire wrapping tools
How to Make It
- Group 8-12 crystal chips together, arranging them in an appealing shape.
- Starting from the middle, wrap wire around the cluster, working outward and securing each chip.
- Form a wrapped loop at the top for hanging.
- String onto the leather cord and tie with a sliding knot or add a clasp.
4. Birthstone Family Necklace
A deeply personal piece — represent each family member with their birthstone. This makes a wonderful handmade gift that carries real meaning.
What You Need
- Birthstone beads (one per family member)
- Gold or silver-filled wire
- Chain
- Small charm or initial letter for each person (optional)
How to Make It
- For each birthstone, create a small wire-wrapped bead link using the wrapped loop technique.
- Connect the links together with jump rings, or thread them directly onto the chain.
- Add initial charms between the stones for personalization.
- Finish with a clasp.
5. Color-Blocked Chunky Bead Necklace
Bold, colorful, and guaranteed to get compliments. This design uses larger beads (10-12mm) in blocks of 2-3 colors for a modern, geometric look.
What You Need
- Large beads in 3 coordinating colors (8-10 of each)
- Beading wire
- Crimp beads and crimping pliers
- Toggle clasp
How to Make It
- Plan your color pattern: 4 beads of color A, 4 of color B, 4 of color C works well for a 12-inch front section.
- String beads on wire following your pattern.
- Secure with crimps and a toggle clasp.
6. Tassel and Bead Statement Necklace
Tassels add movement and drama to any jewelry piece. Combined with beads, they create a statement necklace that's perfect for evenings out.
What You Need
- Embroidery thread (for the tassel)
- Focal bead (15mm or larger)
- Small accent beads
- Beading wire
How to Make It
- Make a simple tassel by wrapping embroidery thread around a cardboard piece (about 3 inches wide), tying at the top, and cutting the bottom loops.
- Thread your focal bead onto the beading wire, flanked by accent beads.
- Attach the tassel to the bottom of the focal bead using a jump ring or by threading it through the bead hole.
7. Spiral Wire Bead Necklace
This design uses a wire spiral technique to create an organic, flowing necklace. Each bead is nestled inside its own wire spiral, creating a chain of little cages.
What You Need
- Round beads (8-10mm)
- 20-gauge wire (copper or craft wire)
- Round-nose and chain-nose pliers
- Wire cutters
How to Make It
- Cut about 6 inches of wire per bead.
- Make a small loop at one end, thread on a bead, then create a spiral around the bead by wrapping the wire in a coil.
- At the top of each bead unit, form a wrapped loop that connects to the next unit.
- Continue until you reach your desired length, then add a clasp.
Tips for Beautiful Results
Use a bead board. This inexpensive tool (around ) lets you lay out your design before stringing, so you can see exactly how the pattern will look and make adjustments.
Invest in good crimping pliers. Regular pliers will flatten crimp beads unevenly, leading to sharp edges and weak connections. Proper crimping pliers fold the crimp into a neat tube.
Finish your ends properly. A well-made necklace can be ruined by a sloppy closure. Take the extra 30 seconds to make sure your crimps are tight and your clasp is secure.
Experiment freely. Some of the best designs come from happy accidents. Don't be afraid to mix materials, colors, and techniques in unexpected ways.
Each of these seven designs can be customized endlessly by changing bead colors, materials, and proportions. Start with whichever one appeals to you most, and before long you'll have a handmade jewelry collection that's uniquely yours.

Comments