Backyard Crystal Treasure Hunt: Kids' Geology
May 14, 2026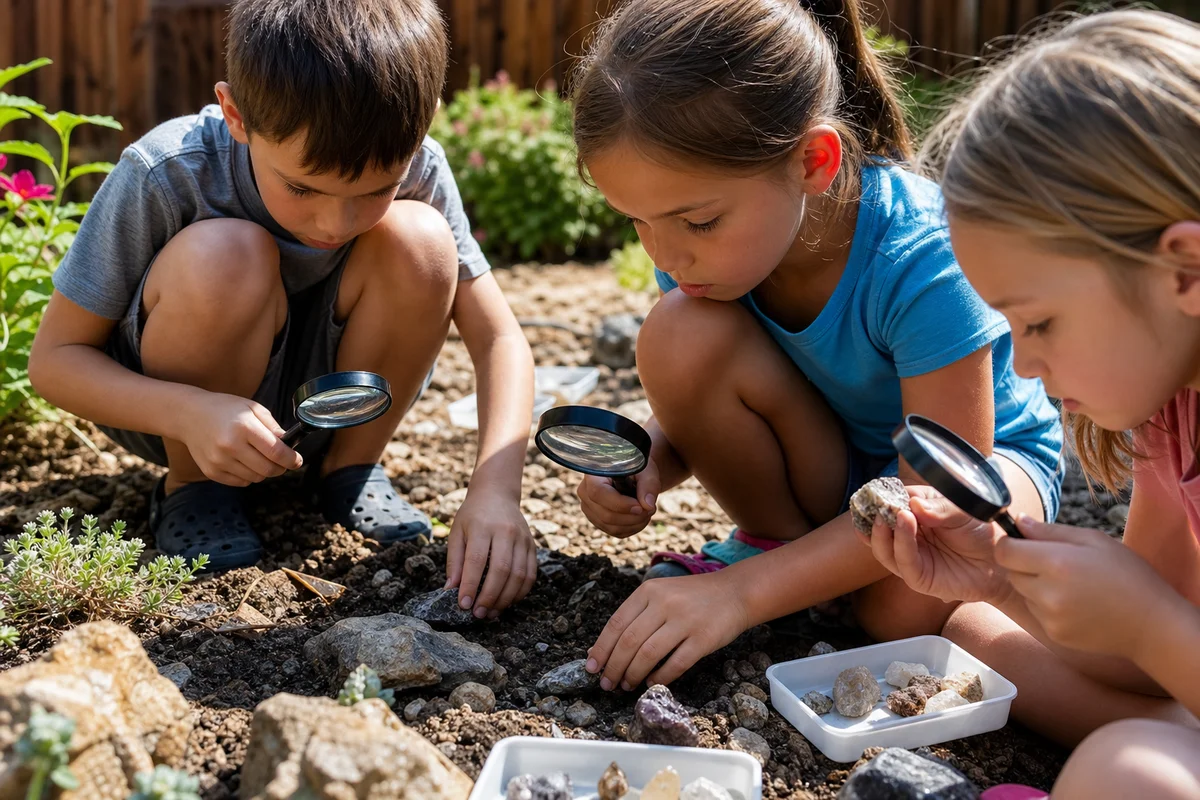
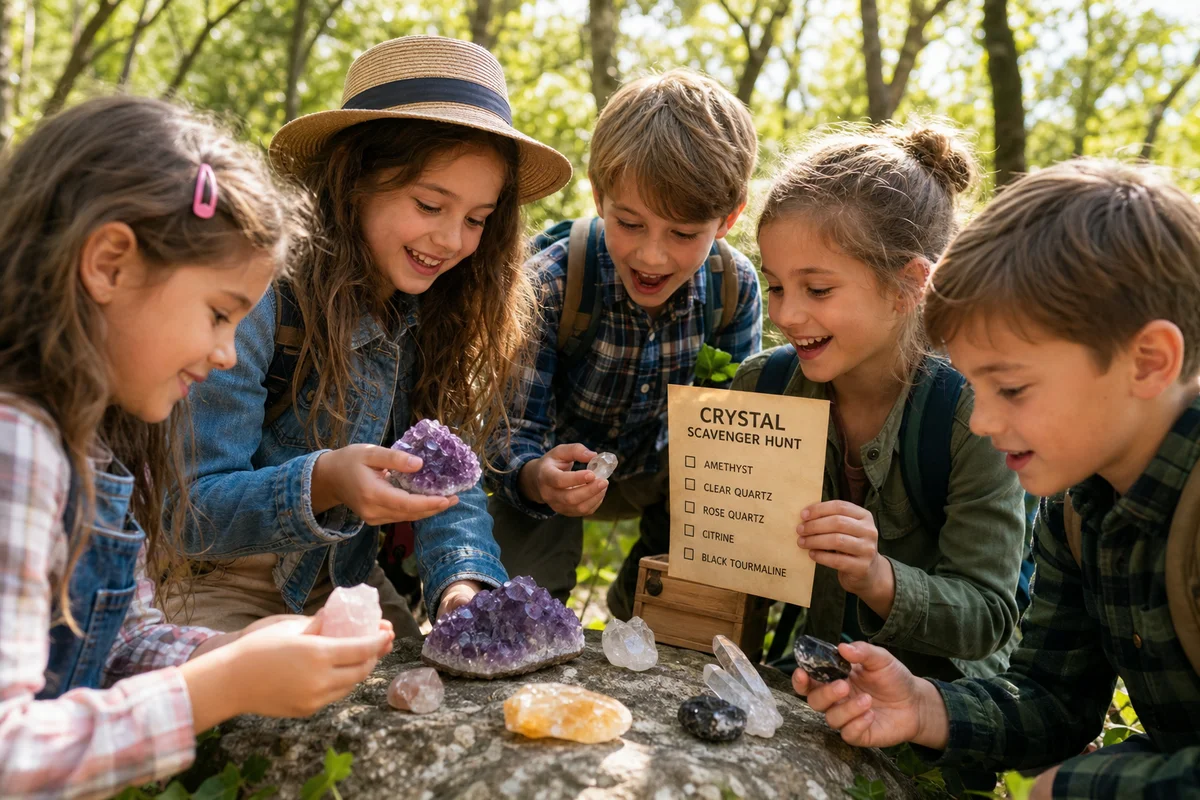
Crystal treasure hunt: the backyard activity your kids will actually want to do
Most kids go through a rock phase. They pick up gravel from the driveway, stuff their pockets full of "specimens," and refuse to let you throw away a chunk of concrete because it "looks like a diamond." Instead of fighting it, lean in. A backyard crystal treasure hunt turns that obsession into a real activity — one that gets them outside, teaches basic geology, and buys you a solid hour of peace.
This isn't a Pinterest craft project that takes longer to set up than the kids spend playing. A crystal treasure hunt takes about fifteen minutes to prepare and can entertain children ages 4 to 12 for an hour or more. Here's how to set one up, what materials you need, and how to scale it for different ages.
What you need
The supply list is short. You probably have most of this already:
- 10-20 small tumbled stones — mix of colors and types (quartz, agate, carnelian, aventurine all work). You can buy a bulk bag of tumbled stones online for $8-15.
- A container for each kid — small cloth bags, egg cartons, or even recycled yogurt cups
- Optional magnifying glass — dollar store ones work fine
- A simple identification sheet — hand-drawn is fine, or print one from the internet
That's it. No glue guns, no paint, no elaborate props. The crystals are the activity.
Choosing stones that hold up outside
Stick with hard stones. Quartz family minerals (amethyst, rose quartz, citrine, smoky quartz) rank 7 on the Mohs hardness scale, which means they won't scratch easily and can handle being dropped on grass or dirt. Agates and jasper are also tough. Avoid anything soft like selenite or calcite — they'll get banged up and might dissolve if the ground is wet.
Tumbled stones are better than raw specimens for a kids' hunt. No sharp edges, no fragile crystal points to snap off, and they're easier to clean afterward. Raw crystals are beautiful but not practical when a seven-year-old is going to shovel them into a bucket.
Setting up the hunt
Pick a dry day. Wet stones are slippery, and muddy ground makes small crystals harder to spot. You don't need a huge yard — even a small patio or balcony works if you use planters and pots as hiding spots.
For younger kids (ages 4-6)
Keep it simple. Hide 8-10 stones in obvious places: under a flower pot, next to a garden gnome, in the grass near the swing set. Give them a cloth bag and tell them to find "all the colorful rocks." No identification required at this age — the fun is in the finding.
You can add a color element: "Find three green stones, two orange ones, and one pink one." This turns it into a sorting activity after the hunt, which adds another 15-20 minutes of engagement.
For middle kids (ages 7-9)
Hide 12-15 stones in slightly trickier spots: buried an inch in the soil, tucked between branches, inside a hollow log. Give each kid a simple identification sheet with pictures of the stone types you've hidden. When they find a stone, they try to match it to the sheet.
This is where the geology learning sneaks in. Kids this age can handle basic concepts: "Quartz is one of the most common minerals on Earth" or "Agate forms in volcanic rock when water fills empty spaces." You don't need to lecture — just answer questions as they come up. They'll ask.
One thing that works well: assign point values. Common stones (clear quartz, agate) are worth 1 point. Less common ones (carnelian, labradorite) are worth 3 points. The kid with the most points gets to pick the post-hunt snack. Nothing motivates a seven-year-old like the promise of choosing the popsicle flavor.
For older kids (ages 10-12)
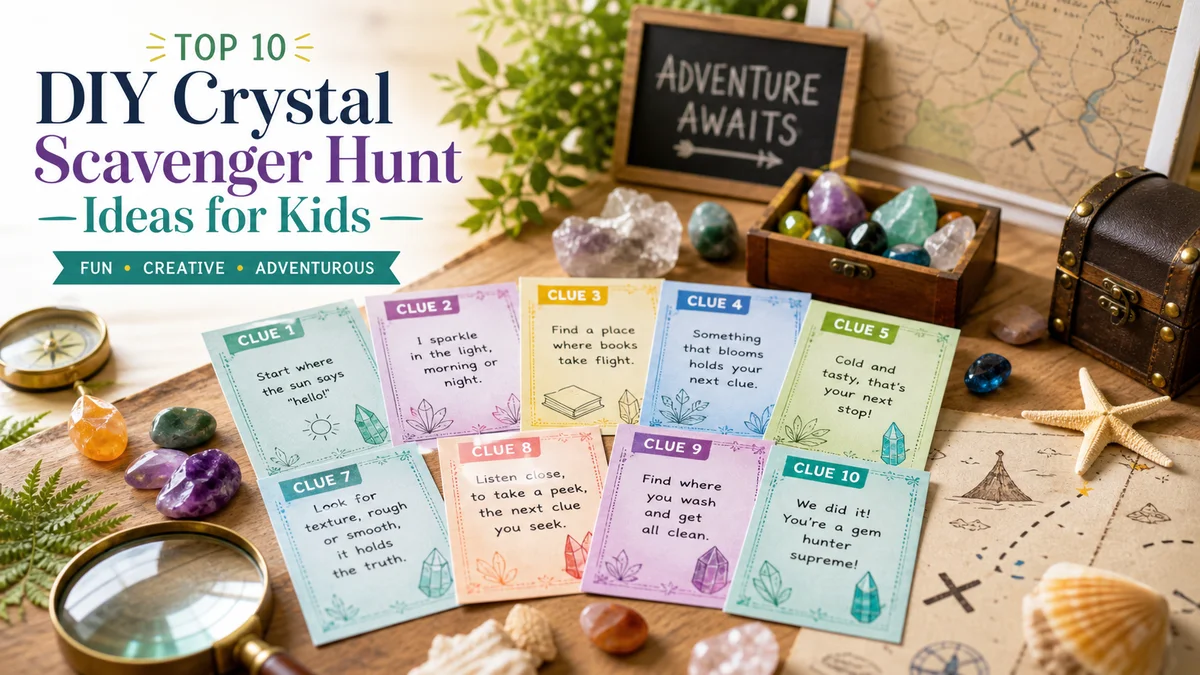
Make it a proper expedition. Create a hand-drawn map of the yard with vague clues instead of explicit hiding spots. "Look where the shadows fall at noon" or "The oldest tree guards something blue." Hide 15-20 stones, including a few harder-to-identify ones like labradorite or moss agate that change appearance depending on the light.
At this age, kids can use the magnifying glass to examine crystal structure, inclusions, and surface patterns. Challenge them to sort their finds by hardness (can they scratch it with a fingernail? a penny? a steel nail?), luster (glassy, waxy, metallic), and transparency (transparent, translucent, opaque). This is actual mineralogy, simplified for a backyard setting.
Turning the hunt into a learning moment
The treasure hunt is fun on its own, but the real educational value comes from what happens after. Here are a few ways to extend the activity:
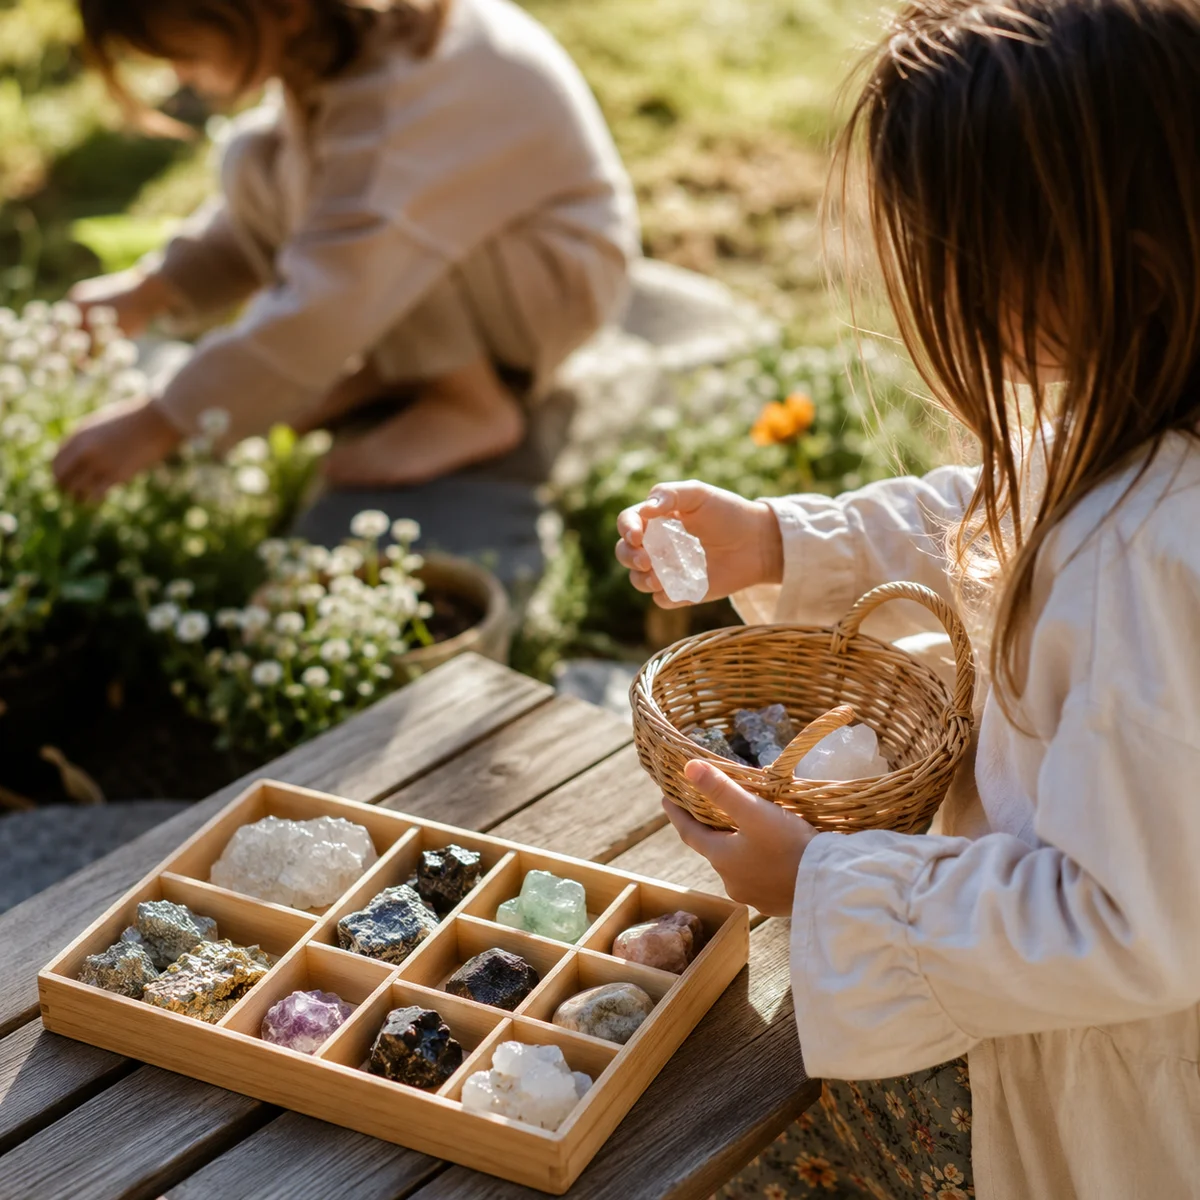
Build a "museum display"
Give each kid an empty egg carton and let them arrange their finds in the compartments. They can label each section with the stone name, where they found it, and one fact they remember. If you're feeling ambitious, let them make a small sign for their "museum" and invite another parent or sibling to come "visit." Kids love being the expert.
Try a hardness test
The Mohs hardness scale ranks minerals from 1 (talc, which you can scratch with a fingernail) to 10 (diamond). Most tumbled stones you'll use fall between 6 and 7. Give kids a fingernail, a copper penny, and a steel nail, and have them try to scratch each stone. If the fingernail can't scratch it but the penny can, the stone is around 3-4 on the scale. If only the nail works, it's 5+. This is a hands-on way to teach the concept of mineral hardness without a textbook.
Start a rock journal
A cheap notebook becomes a field journal. Kids can tape or draw their finds, note the date and location, and write (or dictate) a sentence about each stone. Over multiple hunts, the journal builds into a personal collection record. This is also a sneaky way to practice writing and observation skills during summer break.
What if you don't have a yard?
No outdoor space? A few workarounds:
- Indoor hunt: Hide stones around a single room or apartment. Dim the lights and give kids flashlights for a "cave mining" vibe.
- Sandbox dig: If you have access to a sandbox (or can buy a bag of play sand and a plastic bin), bury stones and let kids excavate with spoons and paintbrushes. This mimics actual field collecting.
- Park hunt: Do the hunt at a local park. Bring the stones, hide them in a designated area, and collect everything before you leave. Leave no trace.
A few practical tips from experience
Count your stones before and after the hunt. Small crystals disappear easily — under deck boards, in tall grass, inside shoes. If you're using 20 stones and only get 19 back, you'll want to know which one is missing before it turns up in the washing machine.
Avoid using raw crystal clusters with kids under six. The points can be sharp, and small fragments can break off. Tumbled stones are smoother, safer, and honestly easier for small hands to grab.
If you're doing this as a birthday party activity, double the number of stones and divide kids into teams. Give each team a different colored bag and a different section of the yard. This prevents the chaos of eight children sprinting toward the same hiding spot.
Don't overthink the educational component. Some kids will want to learn every stone's name and origin. Others just want to find shiny things and eat popsicles. Both responses are fine. The point is getting them outside and engaged with something real — not a screen, not a worksheet, just rocks and curiosity.
And honestly? That "looks like a diamond" chunk of concrete your kid has been hoarding? After a treasure hunt with actual minerals, they might finally be willing to throw it out. No promises, though.
Engaging the Senses: Making the Hunt More than Just Visual
While the visual aspect of the crystal hunt is the most obvious, there are many ways to engage other senses to make the experience even more memorable. For instance, you can incorporate scents by hiding stones near plants with distinct aromas or even use stones with unique textures like rough agates or smooth quartz to touch and feel.
Using Scents to Enhance the Hunt
Think about how a hike in the woods is more enjoyable when you can smell pine trees or wildflowers. You can create a similar sensory experience in your backyard. For example, hide some stones under a bush that's known for its fragrance. You can also add a layer of leaves or pinecones to mask the scent temporarily, so the kids have to really search for the stones.
Texture Exploration
Encourage the kids to use their fingers to feel the stones. You can hide stones with different textures like smooth, rough, or even those with a bit of a sticky feel (like a piece of petrified wood). This can be a fun way to compare and contrast different types of stones and discuss their unique characteristics.
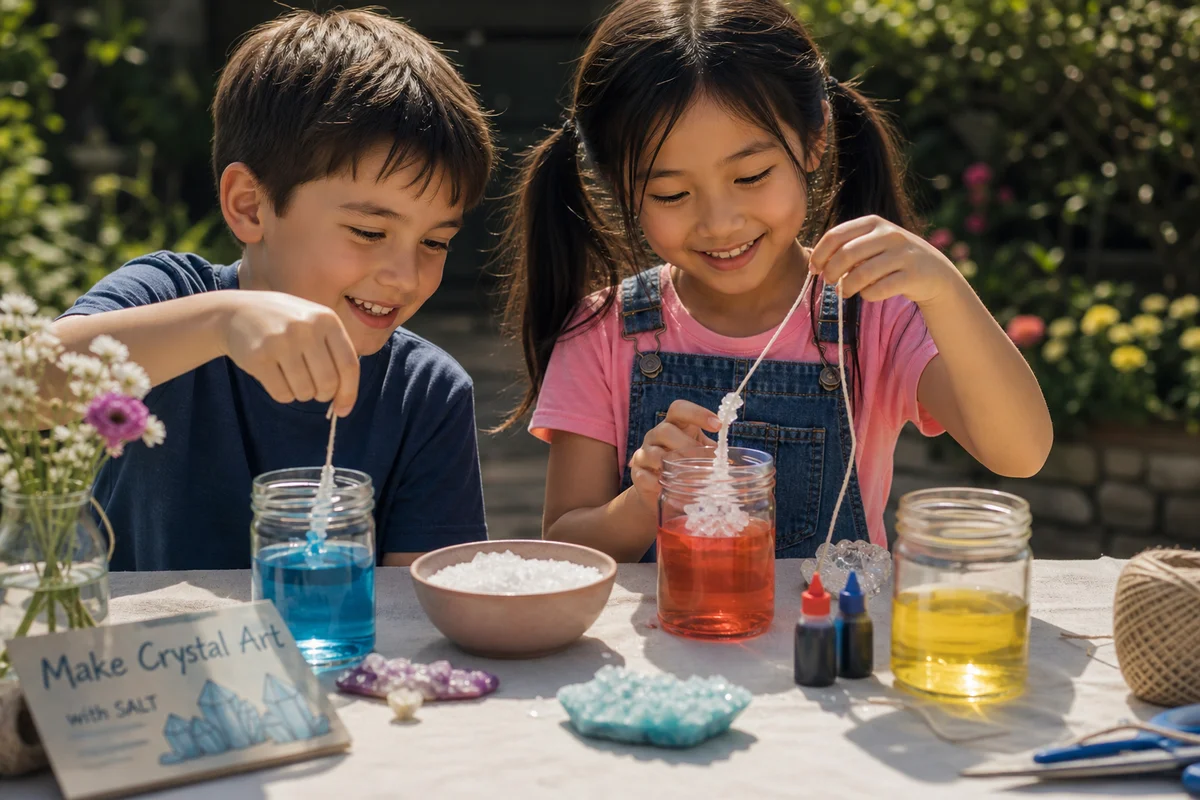
Integrating Art and Science
Combine the crystal hunt with some art and science activities to extend the learning experience. Once the kids have found their stones, here are a few ideas to keep the fun going:
Creating a Crystal Display
Have the kids create their own display using the stones they found. They can glue them to a piece of cardboard, arrange them in a collage, or even create a 3D landscape using different stones as mountains, rivers, and forests.
Studying the Stones
With the identification sheet you provided, have the kids research each stone they found. They can learn about their origin, the geologic processes that formed them, and their cultural significance. This can be a great way to integrate the hunt with a lesson on Earth science and natural history.
Scaling the Hunt for Different Ages
As the kids grow older, you can make the hunt more challenging and educational. Here are some ideas for different age groups:
For Older Kids (Ages 10-12)
- Compass Navigation: Introduce the use of a compass to help the kids navigate to different hiding spots.
- Geologic Layers: Hide stones that represent different layers of the Earth's crust to teach about geologic time and layers.
- Storytelling: Assign each stone a character or a story. Have the kids write down their stories and create a little book or a play.
Sharing the Experience
After the hunt, it's always nice to share the experience with others. Here are a few ideas:
Host a Crystal Show and Tell
Have the kids bring their stones to a family gathering or a playdate. They can share their findings and stories, making the experience social and educational.
Creating a Family Crystal Collection
Start a family collection of crystals and stones. Each time you go on a hunt, add to the collection. This can become a cherished family tradition over the years.
FAQ
Can I use raw crystals instead of tumbled stones for the hunt?
Can I use raw crystals instead of tumbled stones for the hunt?
Answer. While raw crystals are beautiful, they can be more fragile and difficult for young children to handle. Tumbled stones are safer and more practical for a kids' treasure hunt.
How do I make the identification sheet for the stones?
How do I make the identification sheet for the stones?
Answer. You can create a simple sheet with pictures and names of the stones you plan to use. There are also free resources online where you can find images and descriptions to print out.
What if it rains on the day of the hunt?
What if it rains on the day of the hunt?
Answer. If it rains, you can still have a hunt, but make sure to hide the stones in places where they won't get soaked. Just be prepared for wet stones and muddy ground.
How can I keep the kids interested if they've done this before?
How can I keep the kids interested if they've done this before?
Answer. Introduce new elements like different types of stones, storytelling, or a more complex navigation challenge. You can also involve the kids in planning the hunt, making it more engaging for them.
Is there a way to make the hunt more educational for younger kids?
Is there a way to make the hunt more educational for younger kids?
Answer. Yes, you can simplify the identification process by focusing on colors or textures. You can also incorporate songs or games that teach about rocks and minerals, making the learning fun and interactive.
Comparison: Crystal Hunt Activities for Different Ages
| Age Group | Activity | Difficulty Level | Duration |
|---|---|---|---|
| 4-6 | Color Sorting | Easy | 1 hour |
| 7-9 | Compass Navigation | Medium | 1.5 hours |
| 10-12 | Geologic Layers | Hard | 2 hours |
Conclusion
A backyard crystal treasure hunt is a fantastic way to engage kids with nature and the world of geology. By incorporating sensory experiences, art, and science, you can create a memorable and educational activity that will keep the kids entertained for hours. Happy hunting!
Comments