Beginner's Crystal Hunting Guide: Your
May 14, 2026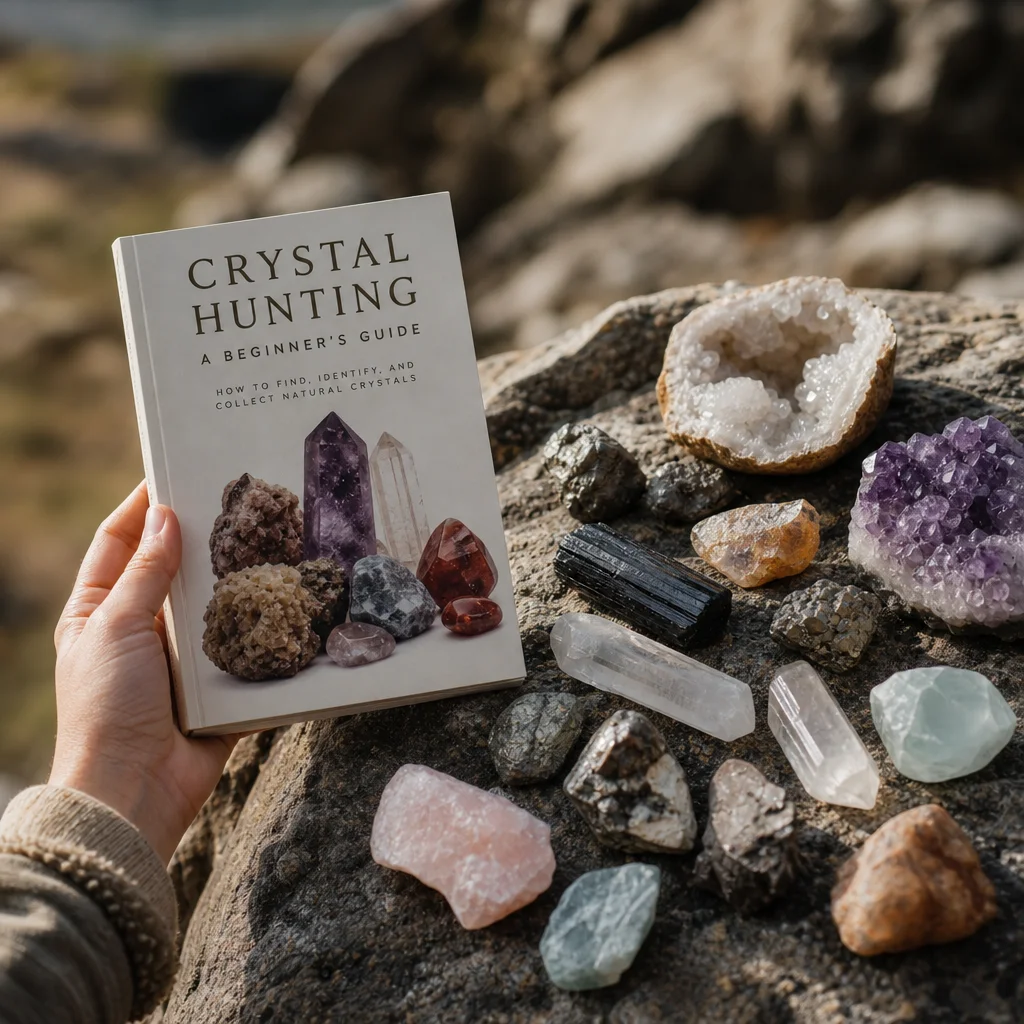
Crystal Hunting for Beginners: A Practical Guide to Finding Your Own Specimens
There is something fundamentally satisfying about pulling a raw crystal straight from the earth. No polish, no display case, no price tag — just you and a mineral that took millions of years to form. Crystal hunting sits at the crossroads of geology, outdoor adventure, and good old-fashioned treasure seeking, and it is far more accessible than most people assume.
This guide walks through what you actually need to get started, where to look, and the techniques that separate a frustrating afternoon of digging from a genuinely rewarding trip. No experience required — just a bit of curiosity and willingness to get your hands dirty.
What to Bring: The Rockhounding Starter Kit
You do not need expensive equipment for your first few outings. The bare essentials fit in a small backpack and cost under thirty dollars at any hardware store. Here is what matters.
Hand Tools
- Rock hammer — Not a regular claw hammer. A geologist's pick or crack hammer has a squared-off head that delivers clean strikes on stone. The 16-ounce size is versatile enough for beginners.
- Chisel — A flat masonry chisel (about an inch wide) lets you split open rock faces and pry crystals from matrix material without crushing them.
- Garden trowel or folding shovel — Useful for loose soil, stream beds, and tailings piles where you can sift rather than smash.
Safety Gear
- Safety glasses — Rock fragments travel fast and sharp. Non-negotiable.
- Gloves — Leather work gloves protect against cuts from jagged edges and blisters from repeated hammering.
- Sturdy boots — Ankle support on uneven terrain, plus a barrier against sharp rocks underfoot.
For Carrying and Identifying
- Newspaper or tissue paper — Wrap fragile specimens individually to prevent them from scratching each other in transit.
- Canvas bags or plastic containers — Something durable that will not rip when loaded with rocks.
- Field guide or phone app — A regional mineral identification guide (book or app) helps you recognize what you have found while the context is still fresh.
- Permanent marker and small labels — Label specimens on the spot with location and date. You will forget by the time you get home.
Optional but nice to have: a hand lens (10x magnification), a spray bottle filled with water to wet specimens for better color visibility, and a small magnet to test for magnetic minerals like magnetite.
Where to Look: Understanding Geological Context
Crystals do not appear randomly. They form under specific geological conditions, and learning to read those conditions is the single most useful skill you can develop.
Igneous Environments
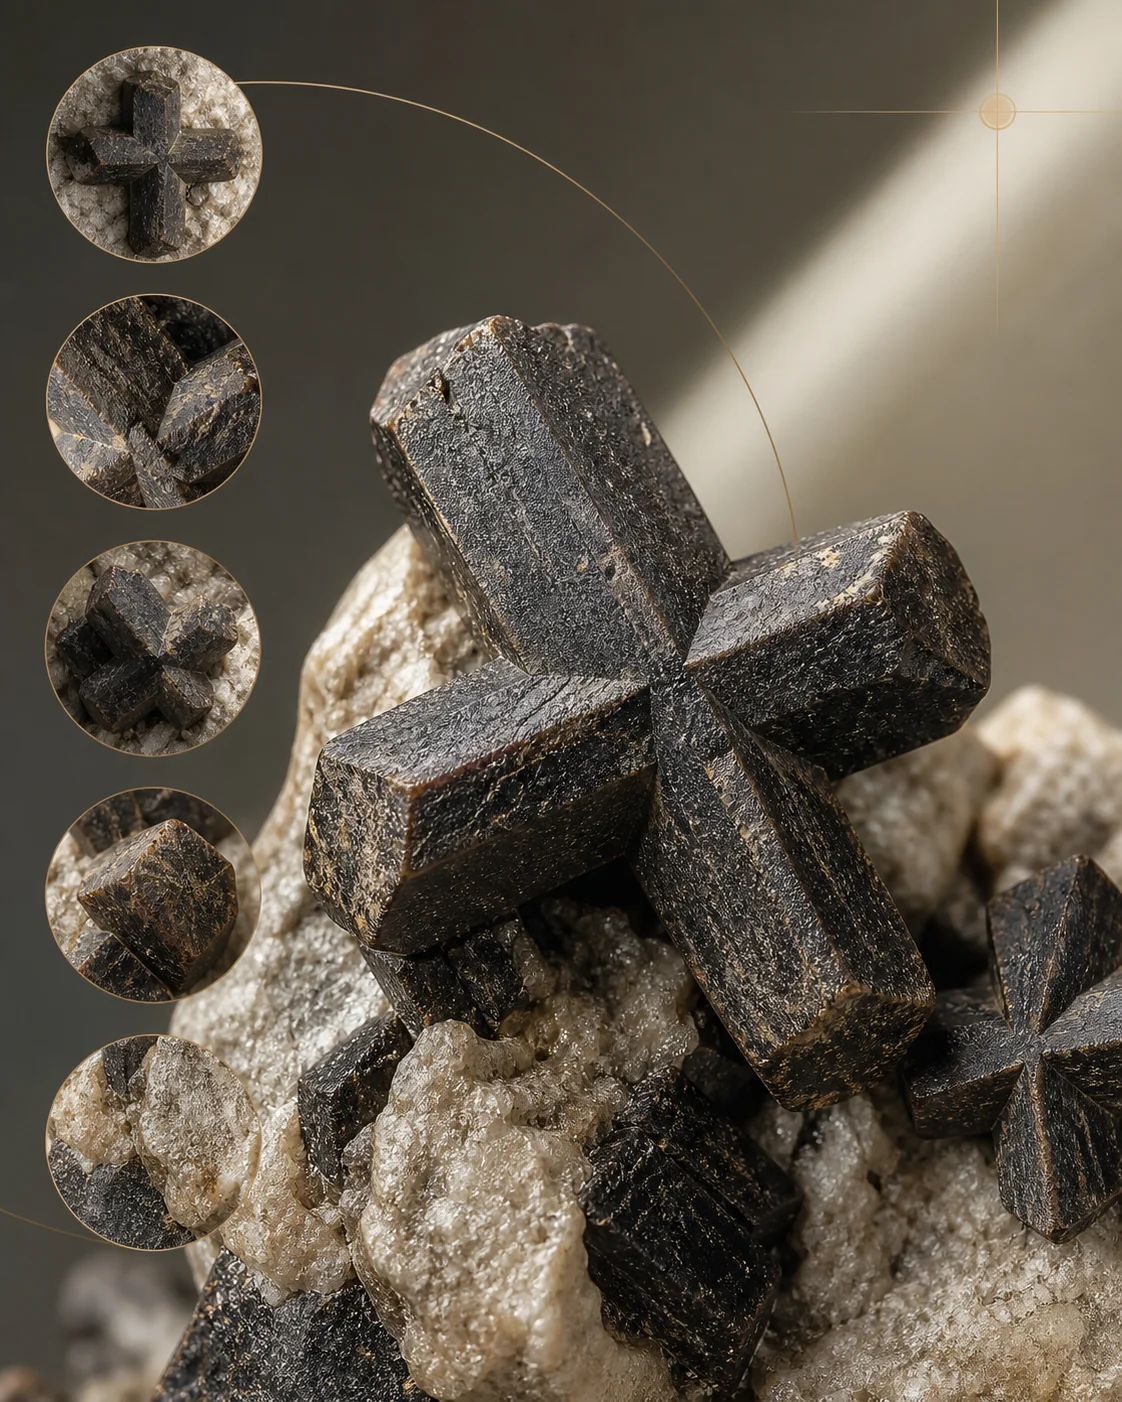
Granite pegmatites are the goldmine for crystal hunters. These coarse-grained igneous rocks cooled slowly deep underground, allowing large crystals to grow. Look for pegmatite outcrops, road cuts through granite terrain, and mine tailings in areas with known pegmatite deposits. Common finds include feldspar, mica sheets, smoky quartz, beryl, and occasionally garnet.
Volcanic regions offer a different set of prizes. Gas bubbles trapped in basalt — called vesicles or amygdules — often contain crystals that grew from mineral-rich fluids: zeolites, calcite, and sometimes agate or chalcedony. Road cuts and cliff faces in basalt country are productive sites.
Sedimentary Environments
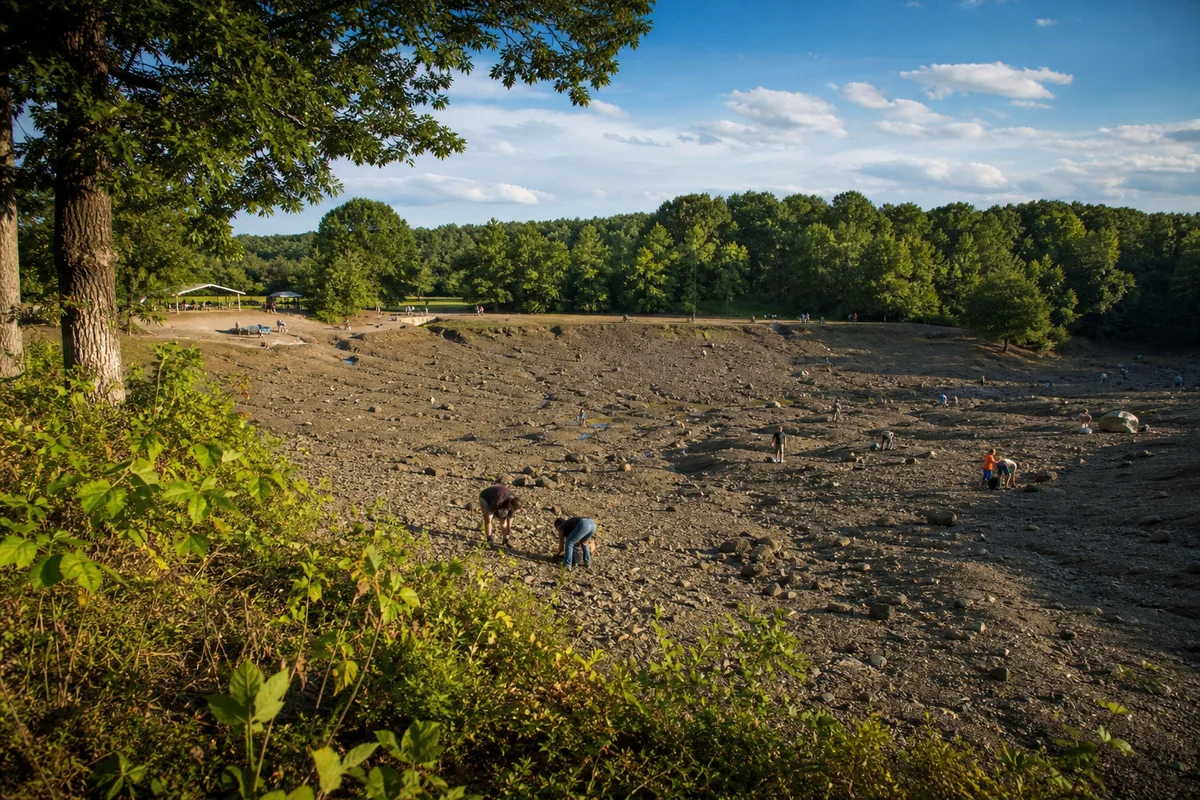
Streams and riverbeds concentrate heavy minerals through natural sorting. Gravel bars, especially those downstream from known mineral deposits, accumulate crystals that have weathered out of upstream rock. The flowing water even does some of the cleaning for you.
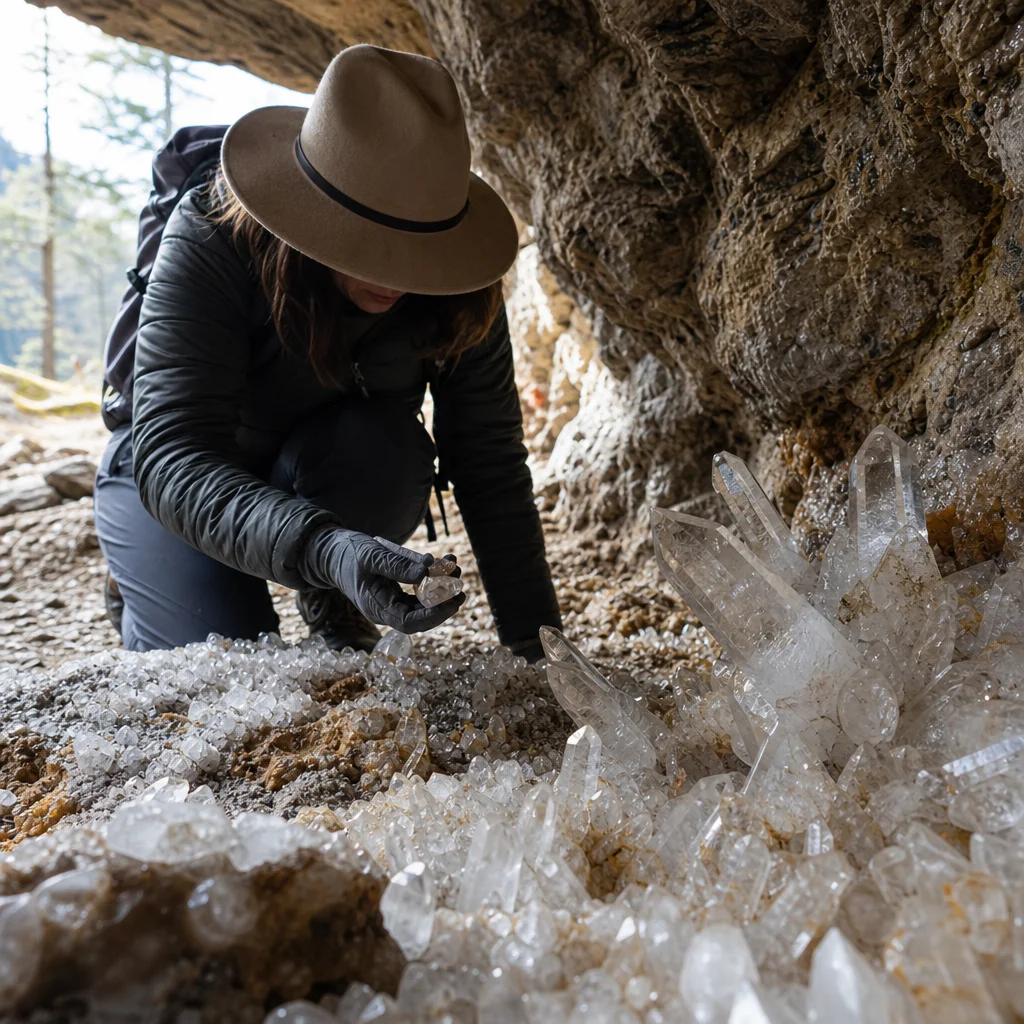
Limestone areas produce calcite crystals, fluorite, and sometimes galena. Caves and solution cavities in limestone can harbor impressive crystal formations, though cave collecting is heavily regulated — always check before you enter.
Mine Dumps and Tailings
Abandoned mines and their associated dump piles are among the most productive sites for beginners. The hard work of breaking rock has already been done; you are sifting through material that miners discarded but which may still contain worthwhile specimens. Many states publish maps of abandoned mine lands, and rockhounding clubs frequently organize trips to these locations.
Never enter underground mine workings. The danger from collapse, bad air, and flooded sections is real. Stick to surface tailings and dump piles.
Public Land Rules
In the United States, Bureau of Land Management (BLM) land generally allows recreational rock collecting of reasonable quantities for personal use. National forests have similar allowances but may require a free permit for larger amounts. National parks prohibit all collecting — do not even pick up a rock from the trail. State parks vary widely; some have designated collecting areas, others ban it entirely.
On private land, you need explicit permission from the landowner. A polite request goes a long way. Offer to share interesting finds and leave the site cleaner than you found it.
Techniques That Actually Work
Reading the Ground
Before you start swinging a hammer, spend ten minutes walking the site and scanning the surface. Look for flashes of crystal faces catching sunlight, color variations in the rock, and areas where natural erosion has exposed fresh material. Experienced hunters often find their best specimens simply by keeping their eyes open rather than digging aggressively.
In stream beds, focus on the downstream edges of large boulders and the bases of gravel bars. Water deposits heavy materials where flow velocity drops. Crystals and dense mineral fragments tend to accumulate in these low-energy pockets.
Splitting Rock
When you do need to break rock, work smarter. Look for natural fractures, cracks, and bedding planes — these are the paths of least resistance. Place your chisel in an existing crack and strike firmly but not frantically. The goal is to encourage the rock to split along its natural planes, not to pulverize it.
If a specimen is partially exposed in matrix, clear the surrounding material first. Trying to pry a crystal out without clearing around it usually results in breaking the crystal itself.
Sifting and Screening
For loose material like mine tailings or stream gravels, a simple screen or sieve is remarkably effective. Pass handfuls of material through a quarter-inch mesh and examine what remains. Small crystals that would be invisible in a pile of dirt become obvious when isolated. This technique is especially productive for finding garnet, tourmaline fragments, and small quartz crystals.
Wet Screening
Dipping your screen in a stream or using your spray bottle while screening makes a huge difference. Water washes away fine dust and mud, instantly revealing colors and crystal faces. Many hunters carry a small bucket specifically for this purpose.
After the Hunt: What to Do With Your Finds
Cleaning
Most specimens benefit from a simple soak in warm soapy water followed by a gentle scrub with a soft toothbrush. Avoid harsh chemicals until you know what you have — some minerals react badly to acids or detergents. Calcite dissolves in vinegar; that would be an unfortunate surprise if your prize specimen happened to be calcite.
For stubborn matrix material, a water gun or moderate-pressure hose works well. Ultrasonic cleaners are an option for delicate work but can shake fragile crystals apart. When in doubt, clean gently and accept a bit of matrix as part of the specimen's character.
Identification
Start with the basics: color, luster, crystal shape (habit), and hardness. The Mohs hardness scale is your friend here — can the specimen scratch glass (hardness 5.5+)? Can a copper penny scratch it (hardness below 3)? Combined with streak color and cleavage patterns, these simple tests narrow down possibilities dramatically.
Regional field guides are more useful than general mineral encyclopedias because they focus on species actually found in your area. A local museum or university geology department can often help identify unusual specimens.
Recording and Storage
Label every specimen with at minimum the location and date of collection. Serious collectors also record the geological context (type of rock it was found in, associated minerals), but even a simple label attached to the specimen or its container preserves the most important information. An unlabeled rock is just a rock; a labeled one is a specimen with a story.
Store specimens where they will not be crushed, scratched, or exposed to direct sunlight for extended periods. Some minerals fade under UV light. Individual compartments in fishing tackle boxes or egg cartons work well for small finds.
Getting Connected
Rockhounding has a generous community. Local gem and mineral clubs organize field trips to sites you could never access on your own, and experienced members are usually eager to share knowledge with newcomers. The American Federation of Mineralogical Societies maintains a directory of clubs across the United States.
Online forums and social media groups provide identification help, trip reports, and a steady stream of finds that will motivate you to plan your next outing. Pay the knowledge forward — when you gain experience, take a beginner under your wing.
Seasonal Considerations and Timing
When you hunt matters almost as much as where you hunt. Early spring and late fall are generally the best seasons for rockhounding in temperate climates. Spring rains wash away loose soil and expose fresh material, and the lack of heavy vegetation makes surface scanning easier. Fall brings similar advantages after a summer of weathering has broken down exposed rock faces.
Summer has its own advantages: longer daylight hours mean more time in the field, and dry conditions make stream beds more accessible. However, heat exhaustion is a real risk — carry more water than you think you need, wear a hat, and plan your trips for early morning when possible.
Winter collecting is possible in milder climates and can be spectacular in areas where frost heaving has broken apart rock faces. Frozen ground actually preserves delicate crystals that might otherwise be damaged by wet, muddy conditions. The downside is shorter days and the need for extra warm layers that can make hammer work clumsy.
Rainy days are worth noting for a different reason. Wet rock surfaces show colors far more vividly than dry ones, and a light rain during your hunt acts like a natural spray bottle across the entire site. Many experienced hunters plan trips for just after a rainstorm for exactly this reason.
Building Skills Over Time
Your first few trips will probably yield modest finds — some quartz fragments, maybe a piece of feldspar, and a lot of dirt under your fingernails. That is normal and expected. Crystal hunting has a learning curve, and the people who consistently bring home impressive specimens are the ones who have spent years developing their eye for promising ground.
Keep a simple field notebook. After each trip, jot down the location, what you found, what the geology looked like, and what you would do differently next time. Patterns emerge over time. You start to recognize which types of outcrops produce, which gravel bars concentrate material, and which areas look promising but consistently disappoint.
Photograph your finds in situ before extracting them. These photos teach you to recognize crystals in their natural context — partially buried, dust-covered, and looking nothing like the polished specimens in shop windows. The ability to spot a crystal face in a pile of rubble is the core skill of rockhounding, and it only comes with practice.
Crystal hunting rewards patience more than aggression, observation more than force. Start local, start simple, and pay attention to what the ground is telling you. Every specimen you find yourself connects you to geological processes that operated on timescales almost impossible to comprehend — and that connection is worth more than anything you could buy in a shop.
Related Guides
- How to Clean Crystals Without Ruining Them
- How to Clean Crystal Jewelry: A Complete Care Guide
- Crystal Pricing: 7 Tricks Shops Use to Make You Overpay
- 15 Creative Ways to Display and Store Your Crystal Collection
- Garnet Varieties Guide
- Clear Quartz: The Universal Crystal Guide
- 7 Crystal Cleaning Mistakes That Cost Me Hundreds of Dollars
Frequently Asked Questions
Is it legal to collect rocks and crystals on public land?
Generally, yes! Most BLM and Forest Service lands allow recreational collecting of small amounts for personal use. However, rules vary by location, and some areas prohibit collecting entirely. Always check local regulations, respect private property boundaries, and never collect in national parks or protected areas. When in doubt, contact the local land management office before you start hunting.
How can I tell if a rock I found is actually a crystal?
Look for distinct geometric shapes, flat faces, and natural facets. Crystals often have a glassy luster and may show transparency. Try the scratch test—quartz will scratch glass. A flashlight can reveal internal structures or inclusions. Field guides and identification apps help, but experience is your best teacher. Start by learning to recognize common minerals like quartz, calcite, and feldspar.
Can I turn crystals I find into wearable jewelry?
Absolutely! Raw crystals can be wire-wrapped, set in bezels, or tumbled into smoother stones. However, working with rough specimens requires skill and proper tools. If you're not ready to craft yourself, artisans like us at SagStone can
Frequently Asked Questions
How do I clean raw crystals I found in nature?
To clean your raw finds, start by gently brushing away loose dirt with a soft brush and warm soapy water. For stubborn clay, soaking them for a few hours helps. Avoid harsh chemicals, especially for softer stones. As artisans, we often use simple dental picks and lots of patience to reveal the natural beauty hidden beneath the surface without damaging the stone's delicate matrix.
What is the best time of year to go crystal hunting?
Early spring and late fall are generally the best seasons for rockhounding. Spring rains wash away topsoil and reveal fresh specimens on the surface, while cooler autumn temperatures make physical digging much more comfortable. Winter freezes can also naturally crack open rocky earth. Always check local forecasts before heading out, as wet terrain can quickly become hazardous.


Comments