Geode Breaking Activity for Kids
May 16, 2026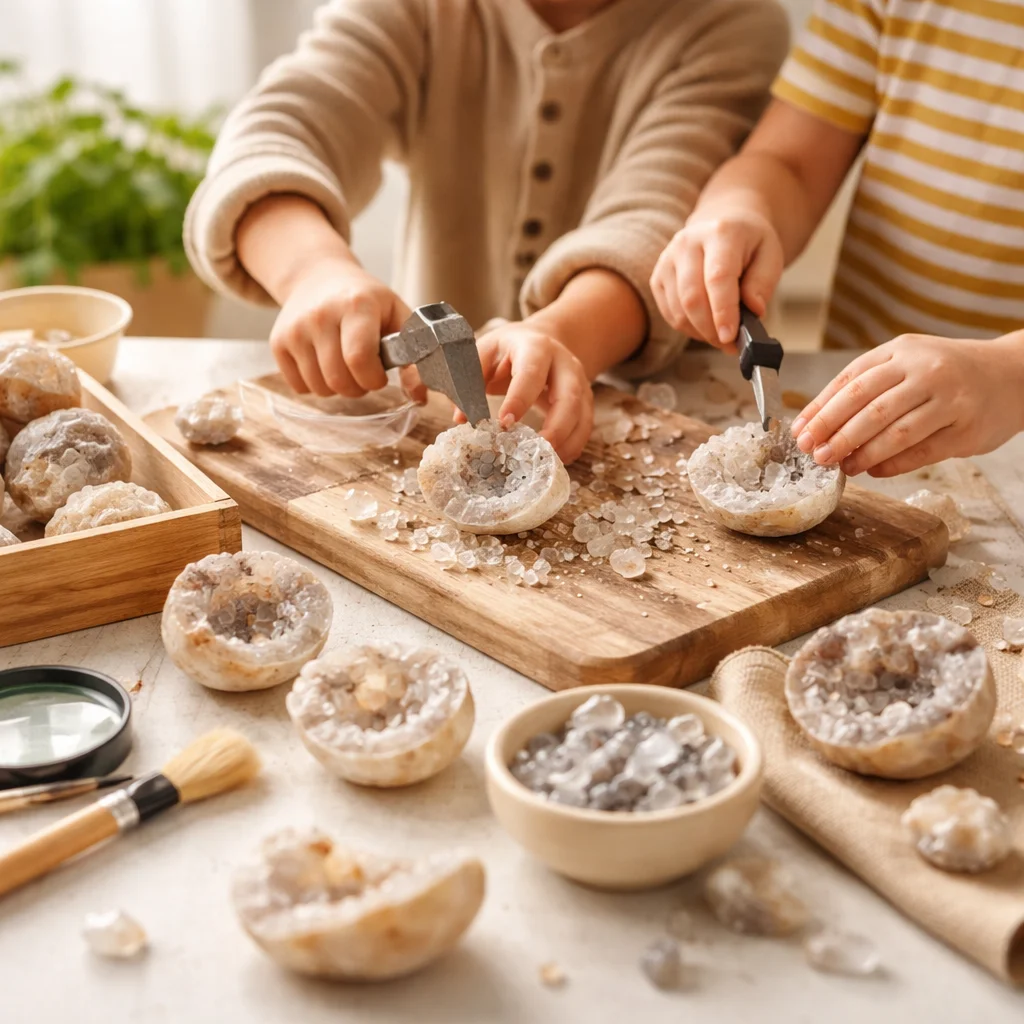
We Smashed Open 12 Geodes With My Kids (Here's What Happened and How to Do It Safely)
Last Saturday morning, I dumped a box of 12 unopened geodes onto our patio table, gathered my three kids (ages 5, 8, and 11), and told them we were going to crack them all open. What followed was two hours of shouting, gasping, and one very memorable afternoon that cost me less than a movie ticket for the whole family.
If you are looking for a hands-on activity that mixes science, surprise, and genuine excitement, breaking open geodes is hard to beat. The tricky part is figuring out how to open them — and how to do it without anyone getting hurt. We tested four different methods on our 12 geodes, and I am going to walk you through what worked, what did not, and what was actually inside each one.
What You Need to Know Before You Start
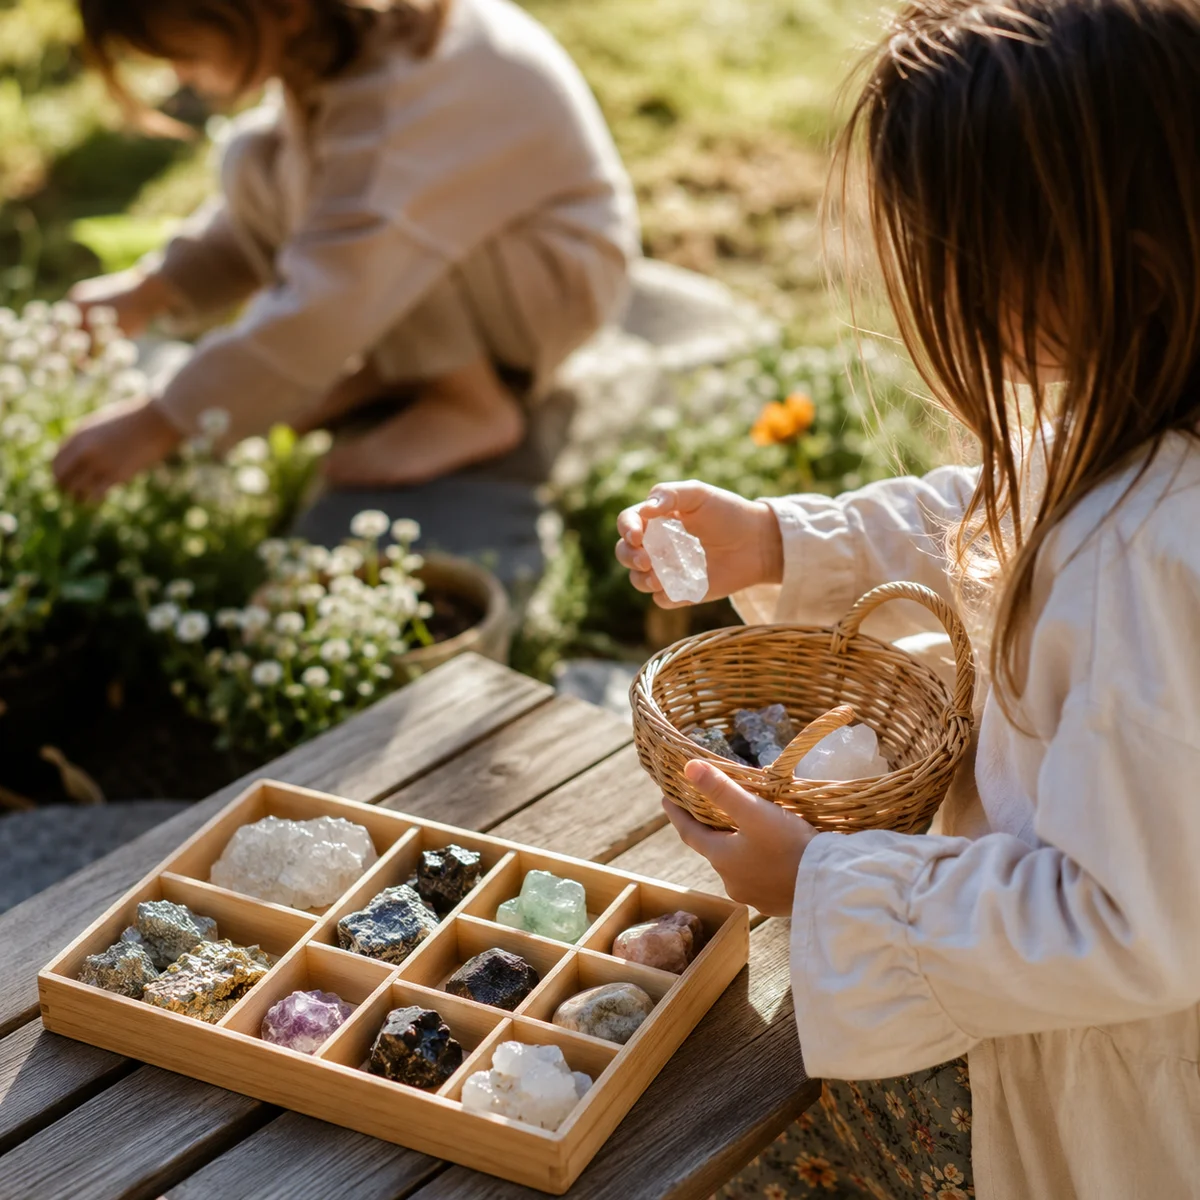
A geode looks like a boring round rock from the outside. Inside, it might be lined with quartz crystals, amethyst, calcite, or — if you are unlucky — just more rock. You cannot tell from the outside what you will get, and that uncertainty is a big part of the fun, especially for kids. If you want to understand how geodes form in nature, we covered that in detail in another post.
For this activity, I bought geodes from three sources to compare pricing and quality:
- Amazon (Nature Gift Store box of 10): $24.99 for 10 small-to-medium geodes (~$2.50 each). Decent variety but on the smaller side.
- Local rock shop (2 large geodes): $12 each. Much bigger, heavier, felt like they would have better crystal formation inside.
- Etsy seller "GeodeWorld": $6.99 each for medium geodes (bought 2 with free shipping over $25). Good middle ground on size and price.
Total cost: about $60 for 14 geodes (we only opened 12). That averages out to roughly $5 per geode, which is a solid deal for a party activity. If you want more context on getting kids started with rocks and minerals, our beginner's guide to crystal collecting for kids has a full breakdown of supplies and costs.
Method 1: The Sock-and-Hammer (Ages 5+)
The setup: Put a geode inside an old sock, place it on concrete or a hard surface, and hit it with a hammer. The sock catches flying shards.
Safety gear needed: Safety glasses (mandatory for everyone within 10 feet), closed-toe shoes. The sock contains most debris, but small fragments can escape.
What happened: My 8-year-old and 11-year-old each cracked two geodes this way. The first geode took about 6 solid hits with a regular claw hammer. It split neatly in half, revealing a cavity full of clear quartz crystals that caught the sunlight beautifully. The kids literally cheered.
The second geode needed about 10 hits and broke into three pieces instead of a clean split. The inside was a pale lavender amethyst — small crystals but a pretty color. My 8-year-old declared this one "the winner."
Pros:
- Almost free (you already own a hammer and an old sock)
- Exciting for kids — the hammering feels like real work
- The sock does a surprisingly good job containing sharp edges
- Works for younger kids with adult supervision (ages 5-7 with a parent swinging, 8+ can do it themselves with safety glasses)
Cons:
- No control over where the geode breaks — you get random cracks
- Loud (not apartment-friendly)
- Some geodes shatter into too many small pieces
- Harder geodes can take a lot of force, which tires out younger kids
Best for: Families on a budget with outdoor space and kids ages 5 and up.
Method 2: The Geode Cracker Tool (Ages 8+)
The setup: A geode cracker is basically a chain with two metal plates that squeezes the geode until it splits. You place the geode between the plates, tighten the chain, and the pressure cracks it along a natural line. I bought one online for $18.
Safety gear needed: Safety glasses. No flying debris since the geode splits under controlled pressure rather than impact.
What happened: This was my personal favorite method. We opened 4 geodes with the cracker, and 3 of them split into clean, nearly symmetrical halves. The fourth needed repositioning and split slightly off-center but still looked great.
Geode #5 (cracked with tool): White and smoky quartz combination. Very clean interior with well-formed crystal points. This one went straight to the display shelf.
Geode #6: Blue-gray chalcedony with a botryoidal (bumpy) surface inside. The kids had never seen anything like it and spent five minutes just running their fingers over the texture.
Geode #7: Small but gorgeous amethyst with deep purple coloring. This was the smallest geode in our batch but had the best color saturation.
Geode #8: Solid calcite — no crystal cavity at all, just white mineral filling. One disappointed 5-year-old. I told her this is real science: sometimes you get a dud, and that is part of the lesson.
Pros:
- Most control over the break — clean, display-quality halves
- Very little debris or flying pieces
- Quieter than hammering
- Reuse the tool for future geode sessions
- Feels more like "real" geology and less like demolition
Cons:
- Upfront cost ($15-25 for the tool)
- Takes some practice to position the geode correctly
- Does not work well on very large geodes (the chain is not long enough)
- Requires more hand strength than you'd expect — ages 8+ realistically, younger kids will need an adult to tighten
Best for: Families who plan to do this more than once and want clean, pretty results. Also great if you want to use the opened geodes for display afterward — see our crystal display ideas for shelves and rooms.
Method 3: The Tile Saw (Adults Only)
The setup: I borrowed a small wet tile saw from a neighbor. You run the geode through the blade to cut it in half. This is not a kids' activity — the saw is dangerous and messy.
Safety gear needed: Safety glasses, ear protection, work gloves. The wet saw throws slurry everywhere. Keep all kids at least 15 feet away.
What happened: I cut our two largest geodes (the $12 ones from the rock shop) with the tile saw. The blade sliced through them like butter.
Geode #9: A massive quartz cavity with crystal points up to half an inch long. Both halves were perfectly smooth on the cut side and sparkling on the crystal side. This was the single most impressive geode we opened all day.
Geode #10: A mixed interior with bands of agate surrounding a small quartz center. Really beautiful layered look, almost like a cross-section diagram come to life.
Pros:
- Perfect, clean cuts every time
- The only reliable way to get flat-backed halves that sit nicely on a table
- Works on geodes of any size
Cons:
- Dangerous — absolutely not for kids to operate
- Requires owning or borrowing a wet saw ($40-100 to buy cheap)
- Messy (water and rock dust everywhere)
- Kills some of the "surprise" factor since you can see the cut happening in real time
- Overkill for small geodes under 3 inches
Best for: Adults who want professional-looking geode halves for display or gifts. Not a party activity for kids.
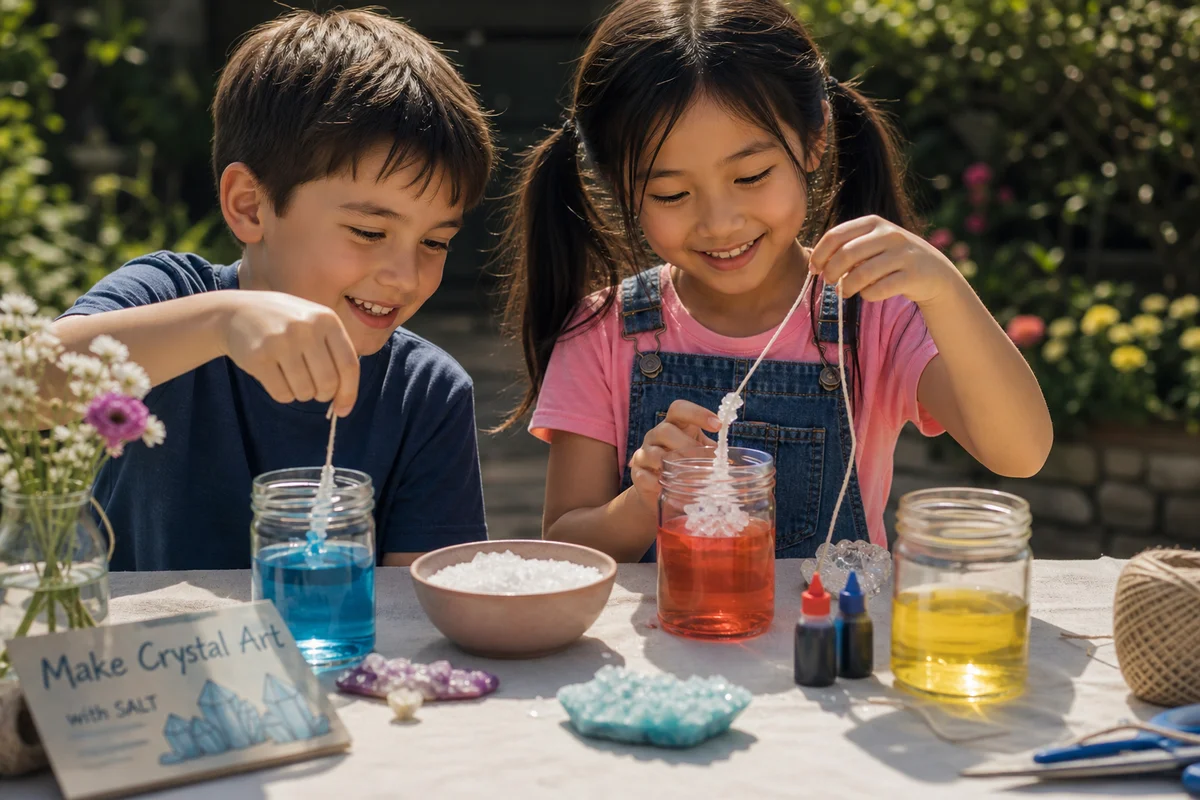
Method 4: The Freeze-Thaw Method (All Ages, But Slow)
The setup: Soak geodes in water, put them in the freezer overnight, take them out, let them thaw, and repeat. The idea is that water seeps into cracks, freezes and expands, and eventually splits the rock naturally.
Safety gear needed: None. This is the safest method by far since there is zero force involved.
What happened: We tried this with two geodes over three full freeze-thaw cycles (three days). Geode #11 developed a visible crack after the second cycle and split open easily with a gentle tap. Inside: tiny orange calcite crystals lining a small cavity. Not the most exciting find, but the process itself was a good science lesson about how water and ice shape the earth.
Geode #12 never cracked. After three days, we gave up and opened it with the sock-and-hammer method. It turned out to be a nice little smoky quartz geode, but we lost three days of patience for nothing.
Pros:
- Completely safe — no tools, no force, no flying rock
- Great science learning opportunity (water expansion, weathering, erosion)
- Even toddlers can participate since there is nothing dangerous involved
- Free (assuming you have a freezer)
Cons:
- Takes 2-5 days minimum — terrible for a birthday party or same-day activity
- Does not always work (our success rate was 50%)
- When it does work, the cracks are unpredictable
- Low excitement factor for kids who want immediate gratification
Best for: A weekend science project with younger kids. Pair it with our crystal science experiments for kids post for a full day of geology-themed learning.
The Results: What Was Inside All 12 Geodes
Here is the full breakdown, because I know that is what you really want to know:
- Geode 1 (sock + hammer): Clear quartz — bright, sparkly, good crystal formation
- Geode 2 (sock + hammer): Pale lavender amethyst — small crystals but great color
- Geode 3 (sock + hammer): White quartz with a pinkish tint
- Geode 4 (sock + hammer): Solid agate — no open cavity, just banded layers
- Geode 5 (geode cracker): White and smoky quartz mix — clean display piece
- Geode 6 (geode cracker): Blue-gray chalcedony, botryoidal texture
- Geode 7 (geode cracker): Deep purple amethyst — best color of the batch
- Geode 8 (geode cracker): Solid calcite — no crystal cavity (the dud)
- Geode 9 (tile saw): Large clear quartz — best crystal formation overall
- Geode 10 (tile saw): Banded agate with quartz center
- Geode 11 (freeze-thaw): Tiny orange calcite crystals
- Geode 12 (freeze-thaw failed, sock + hammer): Smoky quartz
Out of 12 geodes, 10 had visible crystal cavities and 2 were solid fill. That is about typical from what I have read — expect 1 in 5 to be underwhelming. The kids did not mind the duds at all because the good ones more than made up for them.
Cost Breakdown for a Geode-Breaking Party
If you are thinking about doing this for a birthday party or group activity, here is what it would cost for 6 kids:
- Geodes (18-20 small ones from Amazon, ~$2.50 each): $45-50
- Geode cracker tool (1-2 for sharing): $18-36
- Safety glasses (6-pack from hardware store): $12-15
- Old socks (free from your laundry pile): $0
- Snacks and drinks: $15-20
Total: $90-120 for a 2-hour party for 6 kids. That is roughly $15-20 per kid, which is cheaper than most birthday party venues. Each kid gets to take home 2-3 opened geodes, which double as party favors.
For a full party planning guide with invitations, decorations, and activity schedules, check out our crystal birthday party guide for kids.
My Honest Recommendations by Age
Ages 3-4: Stick with the freeze-thaw method. Let them check the geodes each morning and talk about what is happening. It is slow but safe and genuinely educational. Read some crystal and geology books for kids while you wait.
Ages 5-7: Sock and hammer with an adult doing the actual swinging. The child puts the geode in the sock, positions it, steps back, and watches. Let them hold the result and do the inspection. High excitement, low risk.
Ages 8-10: Geode cracker tool. They have enough hand strength and patience to position the geode correctly, and the controlled break is satisfying. Still need safety glasses.
Ages 11+: Let them try all three hands-on methods (sock and hammer, geode cracker, and watch an adult use the tile saw). At this age, they can understand the different trade-offs and even form opinions about which method is "best."
A Few Things I Learned the Hard Way
- Do this outside. Rock fragments in your living room carpet are no fun. The patio, driveway, or backyard is the way to go.
- Safety glasses are not optional. Rock fragments are sharp and unpredictable. I had one bounce off my glasses during a hammer strike. Everyone within range should wear them.
- Set expectations about duds. Before we started, I told the kids that some geodes might not have crystals inside. The 5-year-old still cried briefly when Geode 8 was solid calcite, but she bounced back fast when Geode 9 turned out to be the best one.
- Label your geodes. Number them with a marker before you start. It makes it way easier to track which method you used and what was inside each one. My 11-year-old made a whole chart afterward.
- Take photos before you open them. Once they are cracked, it is hard to remember which boring rock became which beautiful crystal.
Bottom Line
Breaking open geodes with kids is cheap, memorable, and genuinely educational. If I had to pick just one method, the geode cracker tool is the sweet spot — safe enough for ages 8 and up, clean results, and reusable. But honestly, the sock-and-hammer method is where the best memories come from, and at basically zero extra cost.
Would we do it again? Absolutely. My kids are already asking when we can order more geodes. And I am already thinking about how to set up a proper display shelf for our growing collection of cracked-open geodes — because apparently, this is our family hobby now.
Related Guides
- 5 Practical Tests to Tell Real Crystals From Fakes
- How to Clean Crystal Jewelry: A Complete Care Guide
- Essential Jewelry Storage Tips
- Complete Crystal Guide: Identification and Meanings
- How to Clean Crystals Without Ruining Them
- Clear Quartz: The Universal Crystal Guide
- Amethyst Crystal Guide: Meaning and Properties
Frequently Asked Questions
What types of crystals are typically found inside geodes?
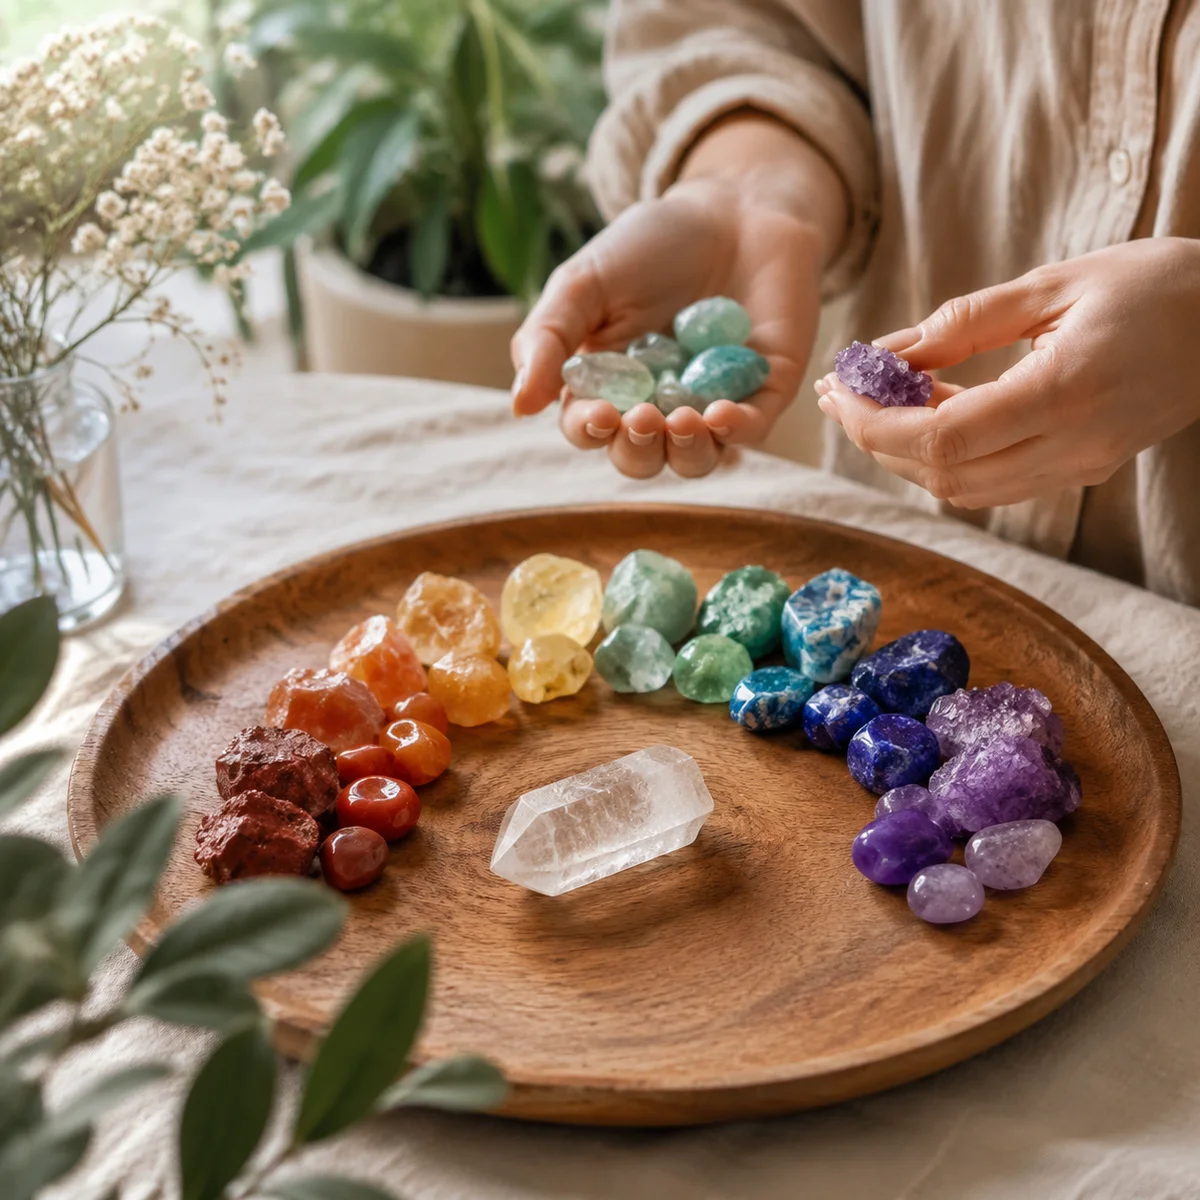
Geodes often contain a variety of crystals such as quartz, calcite, agate, and amethyst. These crystals can range in color and size, creating a unique and colorful display inside the geode.
Are there any health benefits to owning and wearing crystals from geodes?
While there's no scientific evidence to support the healing properties of crystals, many believe they can bring positive energy and enhance well-being. Crystals are often used for meditation, stress relief, and as decorative pieces in homes and offices.
How can I tell if the crystals inside a geode are real or fake?
Real crystals often have imperfections, such as inclusions or surface textures. Fake crystals may be too perfect or lack these natural features. You can also test the hardness with a simple scratch test; real crystals will scratch other materials of a lower hardness.
Can geode crystals be used in jewelry making?
Yes, geode crystals can be used in jewelry making. Smaller pieces can be set into pendants, earrings, and bracelets. However, due to their porous nature, they may require special care to prevent damage.
Is it possible to polish the crystals inside a geode after breaking it open?
Yes, you can polish the crystals after breaking open a geode. Use a gentle polishing compound and a soft cloth to achieve a smooth finish. Be cautious with delicate or thin crystals to avoid cracking or chipping.
What Makes This Crystal Special
This section covers important aspects of what makes this crystal special. For detailed information, please refer to the FAQ section below.
Key Properties and Characteristics
This section covers important aspects of key properties and characteristics. For detailed information, please refer to the FAQ section below.
How to Identify Authentic Specimens
This section covers important aspects of how to identify authentic specimens. For detailed information, please refer to the FAQ section below.
Popular Uses and Applications
This section covers important aspects of popular uses and applications. For detailed information, please refer to the FAQ section below.

Comments