How to Set a Cabochon Stone in a Bezel Setting
A Cabochon That Won't Stay Put
I spent an afternoon making what I thought was a perfect bezel setting for a labradorite cabochon. The bezel wall was even, the solder joints were clean, and the stone dropped in with a satisfying click. Then I picked it up and the stone fell right back out. The bezel was too tall — I'd left a gap that the stone could slide through.
Setting a cabochon in a bezel is one of those processes where each step depends on the previous one being correct. Measure wrong, and nothing downstream fixes it. File unevenly, and the stone rocks in its seat. Burnish carelessly, and the silver ripples instead of folding smoothly. This guide walks through the process with the specific measurements and checkpoints that catch mistakes before they compound.
What a Bezel Setting Actually Is
A bezel is a thin strip of metal formed into a wall that surrounds the edge of a cabochon, then folded over the stone's edge to hold it in place. It's the oldest stone-setting technique still in regular use — versions of it appear in jewelry from ancient Egypt, Rome, and pre-Columbian Mesoamerica. The principle hasn't changed because it works: encircle the stone, then mechanically lock it in.
For jewelry making, bezels are usually made from fine silver (99.9% pure) or sterling silver sheet. Fine silver is softer and easier to fold over the stone, which is why it's the preferred material for bezel walls even when the rest of the setting is sterling. You can buy pre-made bezel wire in various heights and thicknesses, or cut your own from sheet metal. Pre-made wire is easier and costs about $12-15 for a foot of 0.5mm thick material in various heights.
Measuring the Stone: Get This Wrong and Nothing Else Matters
You need three measurements: the circumference of the stone at its widest point, the height of the dome (from the table to the girdle), and the angle where the dome meets the base.
Circumference: Wrap a piece of thin brass wire (0.3mm) around the stone's girdle (the widest part, where the dome meets the base). Mark where the wire crosses itself, straighten it out, and measure that length. Add 1-2mm to the measurement — this overlap is what you'll solder to close the bezel ring. For a standard 20mm round cabochon, expect a circumference of about 65-67mm.
Dome height: Measure from the flat base (table) to the top of the dome with calipers or a ruler. The bezel wall needs to be at least 1mm taller than this measurement. For a 20mm cabochon, dome height is typically 4-6mm, so your bezel wire should be 5-7mm tall.
Base angle: This matters more than most beginners realize. If the stone's dome has a steep angle (like a high cabochon), the bezel needs to be tall enough to grip past the steepest part. If the dome is shallow and gradual, a shorter bezel works. Hold the stone sideways at eye level and look at where the curve starts — your bezel needs to extend at least 1mm above that point.
Making the Bezel Ring
Cut your bezel wire to the measured length (circumference + 1-2mm overlap). File both ends flat and square — hold the wire against a bench pin and file perpendicular to its length. When you hold the two filed ends together, they should meet flush with no gap visible against light.
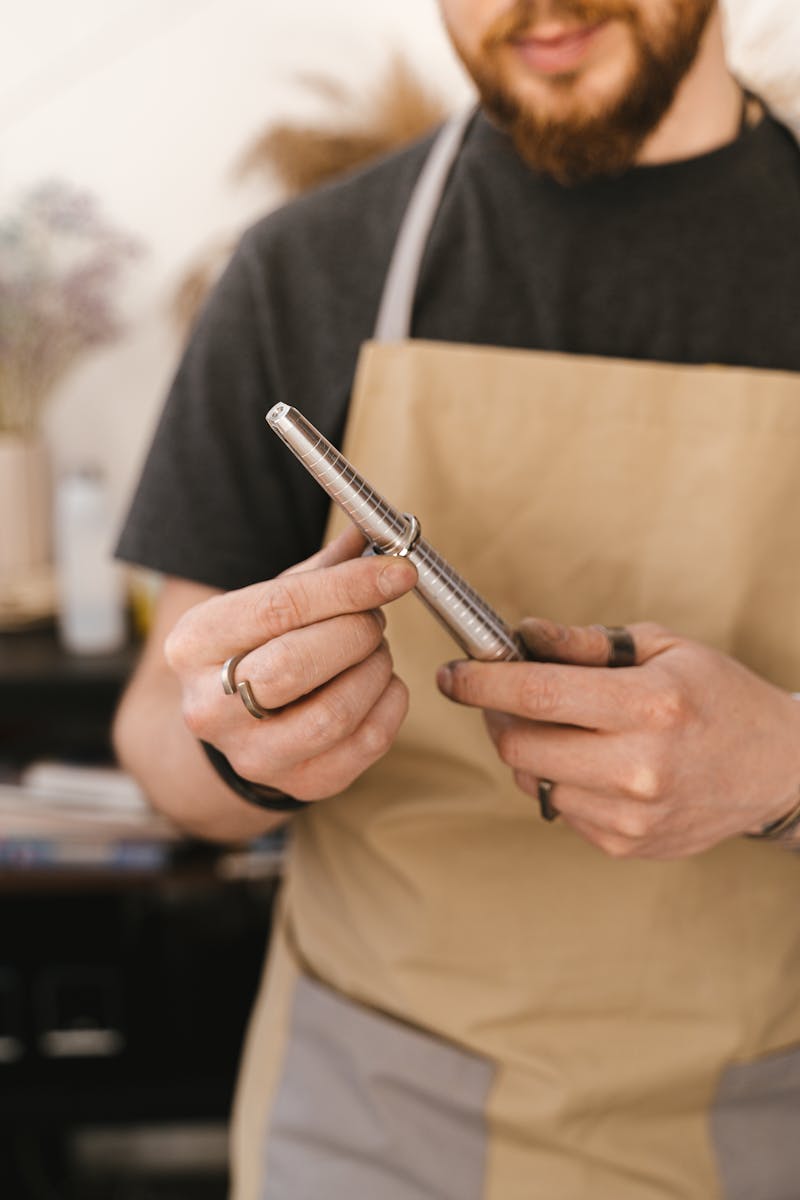
Wrap the wire around a mandrel or a dowel slightly smaller than your stone to form a rough circle. Don't try to form it to the exact stone shape yet — get it roughly round first. Use your flat pliers to adjust the curve until the two ends meet evenly.
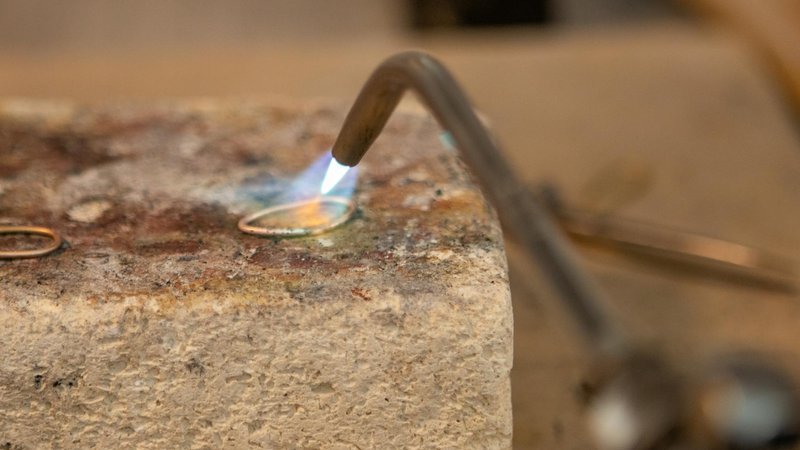
Solder the joint. Apply flux to the seam, position a small chip of hard solder (about 1mm square) on the joint, and heat with a torch until the solder flows into the seam. A small butane torch works for silver. The solder should wick into the joint by capillary action — if it balls up instead of flowing, the joint isn't tight enough or you need more flux.
After soldering, pickle the ring in a mild acid solution (pickling compound dissolved in warm water, about $8 for a small container that lasts months) to remove the oxidation. Rinse and dry.
Fitting the Stone: The Checkpoint That Saves Projects
Place the bezel ring on a flat surface and drop the stone in. It should sit with the girdle (widest part) at or slightly below the top edge of the bezel. The bezel should be tall enough that at least 1mm of metal extends above the stone's edge all the way around.
If the stone is loose inside the ring, the bezel is too big. This is why you measure with thin wire rather than a tape measure — wire conforms to the stone's actual shape, including any irregularities. If the bezel is too big, cut it at the solder joint, overlap the ends a bit more, and re-solder. If it's too small, you need a longer piece of wire.
Check the fit at multiple points around the circumference. Cabochons are rarely perfectly symmetrical. If the stone fits tightly at one point and loosely at another, gently squeeze the loose section with your flat pliers to bring the bezel wall closer to the stone.
Attaching the Bezel to a Backplate
Cut a piece of 20-gauge (0.8mm) sterling silver sheet to the shape of your finished piece (round for a pendant, rectangular for a ring top, etc.). The backplate should extend about 2-3mm beyond the bezel on all sides.
Place the bezel ring in the center of the backplate. Flux the contact area and solder the bezel to the backplate using easy solder (which melts at a lower temperature than hard solder, so it won't re-melt your bezel joint). Apply heat from below the backplate so the solder flows up into the joint. Turn the piece over and check that solder has filled the seam all the way around.
Pickle, rinse, and dry. Now file or sand the backplate edges smooth, and round any sharp corners.
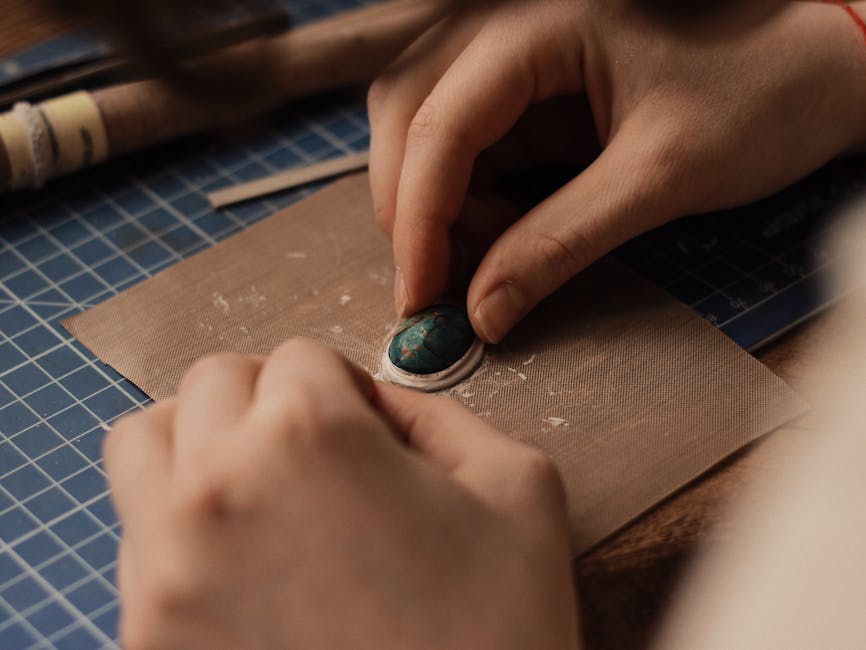
The Burnishing: Where the Stone Gets Locked In
This is the step that separates functional bezels from beautiful ones. Burnishing is the process of folding the bezel wall over the stone's edge to lock it in place.
First, make sure the stone seats fully in the bezel. Press it down gently with your fingers. If there's any wobble, the seat isn't flat — you may need to file the inside bottom edge of the bezel or add a tiny piece of solder as a seat.
Use a bezel pusher (a steel tool with a notched or angled tip) or a burnisher (a smooth steel rod with a rounded end). Starting at one point, push the bezel wall inward toward the stone. Work around the circumference in small increments — pushing about 2-3mm of bezel at a time before moving to the next section. Alternate sides (top, bottom, left, right) to keep the pressure even.
The bezel should fold over the stone's edge at about a 45-degree angle initially, then you can push it further down to 60-90 degrees (flush against the dome) with the flat side of your burnisher. The metal should make contact with the stone across the full height of the fold — not just at the very top edge.
Common burnishing problems: If the bezel ripples or folds unevenly, you're pushing too much at once. Smaller increments. If the stone shifts during burnishing, you didn't have it seated firmly — a tiny drop of beeswax on the base holds it temporarily during setting (it washes off later with warm water). If the silver looks scratched after burnishing, use a polished steel burnisher or follow up with a light polish using a felt wheel and polishing compound.
Finishing: Making It Look Like It Wasn't Handmade
After the stone is set, file any excess bezel material that extends above the fold line. Use a needle file to smooth the transition between the folded bezel and the backplate. Sand through 400, 600, and 800 grit to remove file marks.
Polish with a buffing wheel and polishing compound (tripoli first for cutting, then rouge for final shine). Keep the buffing wheel away from the stone — polishing compound gets embedded in porous stones and is difficult to remove. If your cabochon is porous (turquoise, malachite, howlite), mask the stone with tape before polishing the metal.
The finished piece should have a clean, even bezel wall that follows the stone's contour smoothly. If you can feel a ridge or step where the bezel meets the stone, more burnishing is needed. A well-set bezel looks like the stone grew out of the metal — no visible gap, no uneven pressure, no movement when you tap the piece.
Comments